4-6 weeks ahead:
- Determine theme. I love this part! I peruse pictures online and start a Pinterest board of great ideas, decorations, menu ideas, etc.
- Costume. Depending on your theme, you may want an outfit that fits the mood. Plan time for assembling this outfit if you need to.
- Music. Music really enhances a party and helps smooth over any gaps in conversation as people settle in. I don't want it loud so that it drowns conversation, but instead enhances the mood. Depending on the theme, I usually create a playlist. For our tiki party, I did some research on "exotica" music and made a playlist including music by Arthur Lyman, Martin Denny and Les Baxter.
- Invite guests. Include information about your theme, and if applicable, encourage guests to come in appropriate dress. For our tiki party, we encouraged goofy Hawaiian shirts or summer clothes.
- Select decorations. I like to try to use things around the house that we already own, and if necessary supplement with a few purchased decorations. For our tiki party, I brought in our pink flamingos from their winter storage in the garage and used a table cloth we have with a fruity print. We made a few decorations (paper lanterns, tiki face cut-outs for our door, green construction paper to make pine cones look like pineapples), and bought a few (I really wanted that grass skirt for our kitchen island).
- Home setup. Think about seating- where do you want to place chairs? Think about lighting, candles, where to put guests' coats, etc.
- Menu. My challenge with planning a menu is limiting the options so that you can cook most of them a bit ahead and not be cooking or worrying too much about food during the party.
- Cocktails. We always develop, print and frame a themed cocktail menu for these parties- guests love to look at the choices, order and watch my husband (the bartender) mix their drink.
- Game- Trivia. We like themed trivia questions, which I develop using online information. I print out the trivia games in advance and the group plays. We have a small prize for the winner with the most right answers.
- Buy any last decorations
- Finalize menu
- Shop for liquor
- Estimate your number of guests, make up your grocery list and shop for non-perishable groceries.
- Start cleaning your house, sequence cleaning so that the areas that will contain guests are cleaned as close to the party as practical.
- Start putting up your decorations.
- Ensure you have enough plates, glasses, silverware, napkins, etc.
- If you have a freezer with capacity, stock up on extra ice.
- Ensure your camera is charged and ready.
- Shop for perishables.
- Start food prep with those items that can be prepared in advance.
- Set up your serving table- iron your table cloth, select which serving ware you'll use for each dish, labeling it with a post-it note. Think about flow for your guests as you set up the serving area.
- Finish decorating.
- Final cleaning. Make sure kitchen and bathrooms are in good shape, have clean towels, plenty of soap and extra TP.
- Cook or prep any food that can be made ahead.
- Set up your bar with all non-perishable items.
- Set up chairs, candles, etc.
- Set a serving time for food, plan remaining food preparation to complete at that serve time.
- Final set up for your bar- ice, garnishes, etc.
- Turn on your music, light your candles.
- Set out your food at the appointed time.
- Relax. Have a drink. Keep your sense of humor if something doesn't go quite as planned. Have fun!
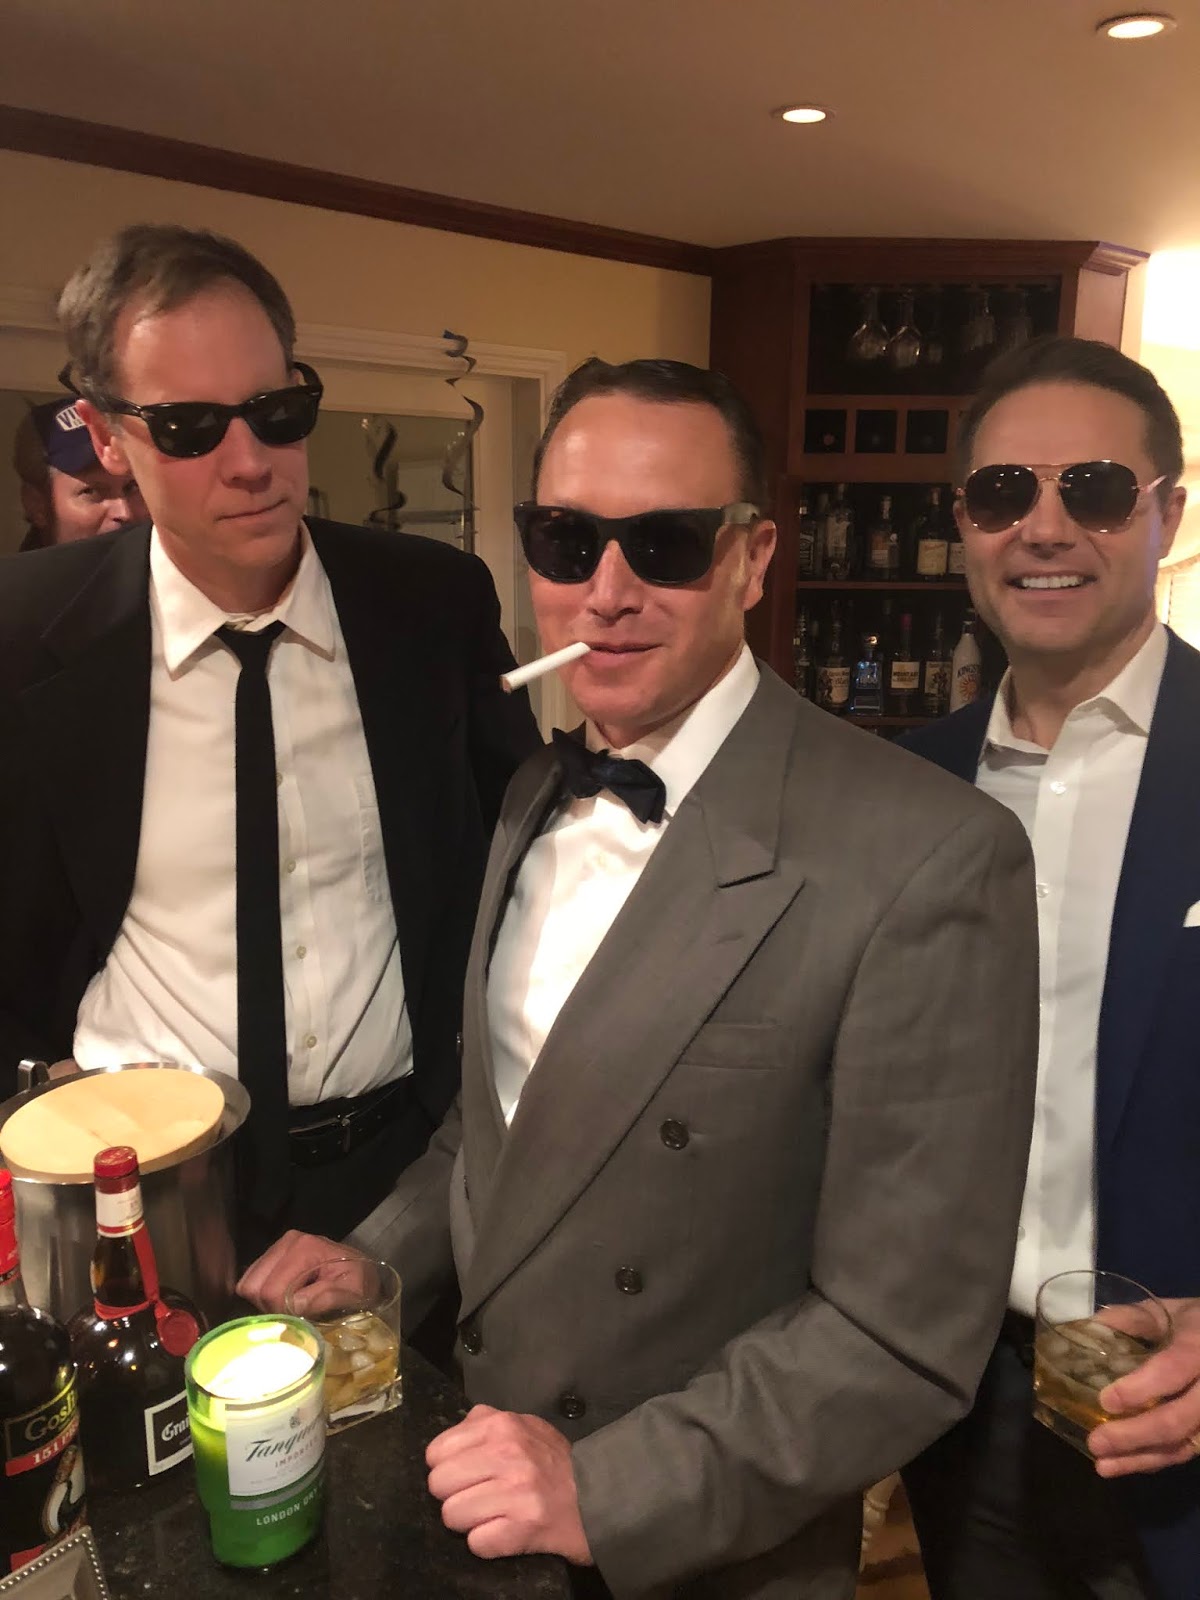
1960s/Mad Men Party (2016)

Tiki Party (2017)


 |
| Hawaiian Wedding Cake |


80s Party Theme (2017)


 | |||||
| Pac-Man Cake |
 |
| Cassette tape garland |

 |
| King cake- someone got to find the baby |
 |
| (The version of this party that we threw for neighbors a couple weeks after the work party was epic and turned out to be one of the best parties of all time) |
A Night at the Oscars (2019)


 |
| Doing the trivia game |


Neighbor version
 Saturday Night Live Party (2020)
We did a "soft opening" party for the neighbors on Jan 24, a version for Andy's department (24 guests) on Feb 7, then a version for the volleyball crew on Feb 29 (just ahead of the great Pandemic shutdown). Note the first appearance of the bar cart.


 |
| Neighbor version |

We did a "soft opening" party for the neighbors on Jan 24, a version for Andy's department (24 guests) on Feb 7, then a version for the volleyball crew on Feb 29 (just ahead of the great Pandemic shutdown). Note the first appearance of the bar cart.


Roaring 1920s (2022)
We used Canva to create a cocktail menu featuring drinks from this time period.

We had Andy's work teammates over. For food, we served meatballs, deviled eggs, takeout Chinese appetizers (Chinese-American food was popular in the 1920s) including egg rolls, cream cheese wantons, and shrimp toasts from Eddie Cheng's in Richfield. I also made a pineapple upside down cake.


Rock 'N Roll (2023)
We borrowed a karaoke machine from our friend Dave.

 |
| Dressed as Angus Young, singing "Hard to Handle" |


.JPG) |
| Madonna and Angus Young |
.JPG) |
| Neighbors |
.JPG)
Bavarian Winter
Jan 2025
We'd enjoyed the Bavarian Thanksgiving theme this year at Tim's and Elizabeth's so it seemed right to have a Bavarian party. Besides, Andy loves any excuse for his lederhosen. For food, we did bratwurst chunks, ham buns, spaetzle, candied almonds (which were a failure) and other snacks and a black forest 9X13 cake. Nobody took Andy up on a sauerkraut eating contest, but the trivia game was well received. 20 guests.


