Monday, July 27, 2015

The $10 Scarf Swim Suit Cover-up

On a recent trip to the beach, I admired a gal's swimsuit cover-up made from two scarves with a great border print.  I figured I could make one up quickly, if I could get my hands on scarves of an appropriate size.

There are tens of thousands of scarves for sale on the Internet.  I discovered that trying to search by size, color, fabric content/weight and the presence of a border print in a multiple of two was really tricky.  I tried different search terms on Ebay, and found that the terms "oblong scarf" along with "chiffon" and some specific scarf measurements at least brought up some retail sites within Ebay that were promising.  The size of the scarves was important for this project- I calculated that a relatively standard oblong size, 62" by 20", would work. After several hours of searching off and on over a few weeks, I found a pair I was reasonably happy with from seller fuquanlai772:

http://www.ebay.com/itm/390640570900?_trksid=p2057872.m2749.l2649&ssPageName=STRK%3AMEBIDX%3AIT

Each scarf was priced at $5.07 with free shipping from China, so the whole cover-up would be a whopping $10.14.  Of course, it took a while to receive them from China, so this isn't something you should expect to whip up a day or two after ordering.  I was anticipating that they'd be 100% poly (the retailer did not specify), and I was pleased that when they arrived they were 60% poly and 40% silk with a nice drape to them.
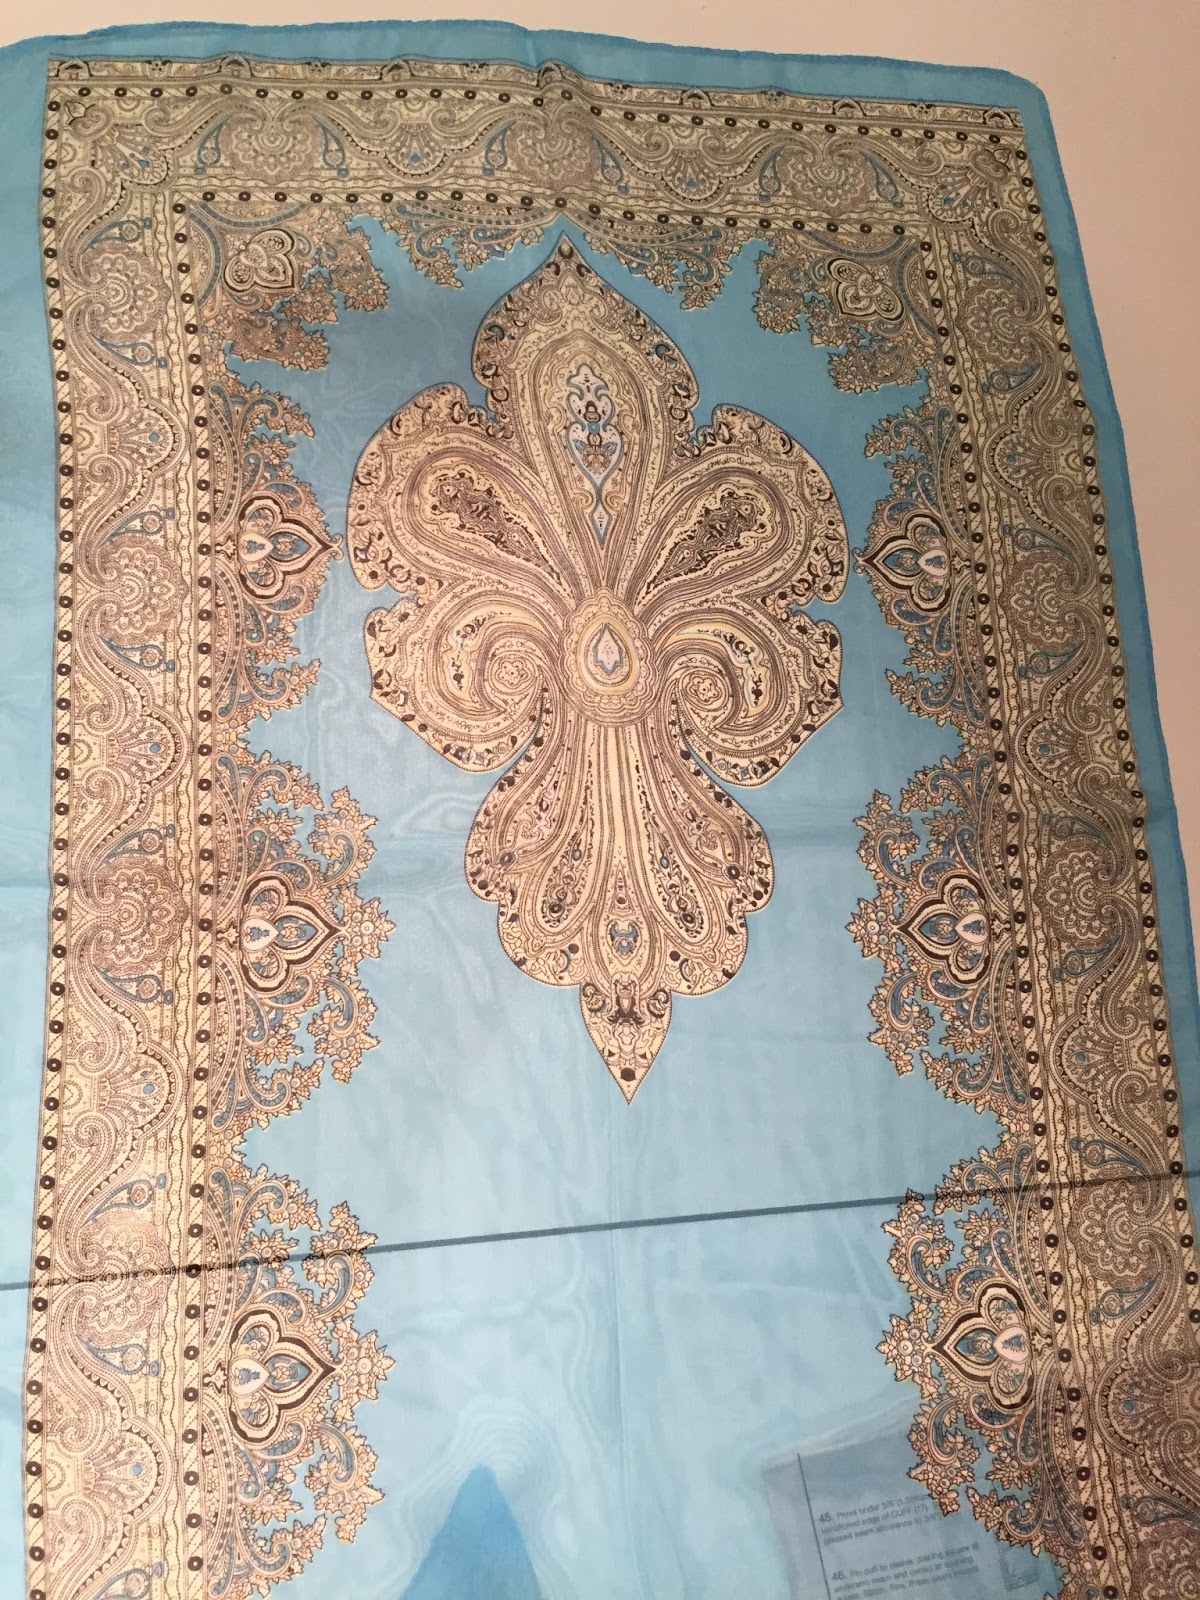
Detail of the border print

Once I had the scarves in hand, it was pretty simple to put together.  I sewed as close to the rolled hem as I could for a small seam line.  I combined the two scarves along the long edge with an opening in the center for my head.  I sewed along the sides for just a couple of inches under the arms to keep the cover-up a bit more closed at the sides.  The sewing took about 15 minutes.  The result is easy, comfortable and can be folded quite small for packing.
End result
I made one for my daughter, too.
Montego Bay, Jamaica, 2019


Saturday, June 20, 2015

Patches and the Promise of a Superfluous Hedgehog

YOU ARE NOT TARZAN!!!

Yes, words often heard being bellowed throughout my home.  If not Tarzan, they are pretending to be snakes, horses, dogs, cheetahs.  Pretty much anything that means they are zipping around the house wearing holes in the knees of their pants.  Usual attire consists of stretchy Carters pants (usually around $10 a pair) and something on top.  Usually.

I finally got tired of throwing them out and thought, "you want to be Tarzan?  Then Tarzan is going to get 1970s patches ironed onto his knees."

Strangely, those are not cheap and couldn't bring myself to commit to that level of ugly.  So I took to Etsy.  Custom patches were like $9-$15, so I might as well throw them out and get new pants.

I will not surrender.  I will not give up.

While at JoAnn Fabric buying yarn for another project - another blog altogether - I picked out some print fabric, Fray Check, and Wonder-Under.  Does this confuse you?  Because I didn't do this on my own, I had to have JoAnn (or one of her craft elves who help the craftless) help me.


STEP 1:
First I cut out the prints that I wanted to use.  I am using a canvasy, denimy fabric.  Probably has a name but I don't know those things.  I thought one might have an animal theme and another might be flowers... but more on that later.


Pause to get some wine.  This project needs wine.


STEP 2:
I applied a little Fray Check to the edges to keep the the patches from coming apart at the... edges.  Sorry if I just insulted your intelligence.  It's you not me.  I'm an engineer, not a seamstress dammit.


Pause - a kid got their finger slammed in a door.  Ok.  All good.

STEP 3:
The Wonder-Under is this melty webbing backed by parchment paper that has instruction that I didn't read. For the batch of patches for the animal-themed pants I ironed over a paper bag so that the extra webbing would get fused to the bag.  Worked pretty good.

STEP 4:
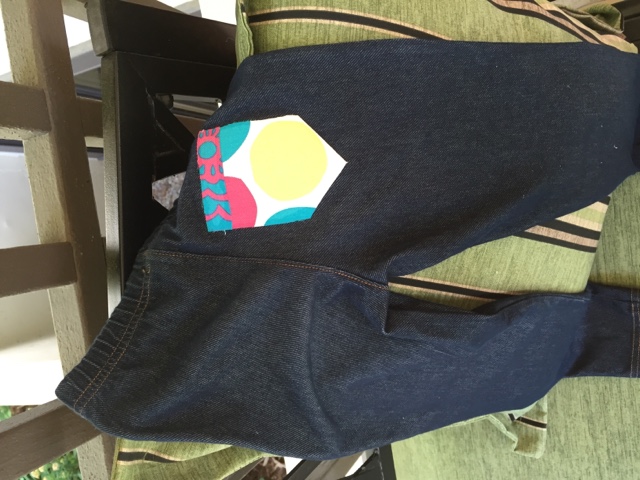
I applied the patches to the pants and found that I had a superfluous hedgehog.  Bully for me!  I could see all sorts of placed I could put his cute little self.

I followed STEP 2 - STEP 4 for the flower-themed pair.  I had just finished STEP 3 when I realized I had fused the sticky webbing to the wrong side of the patches.  CRAP!!!  Back to STEP 1.  At this time I realized that there is no such thing as a "superfluous hedgehog."  All hedgehogs have a purpose, a destiny.  His would be live among flowers on some stretchy pants.

STEPS 2-4 followed again without incident. and bam!  We have pants without holes.


Pair #1


Pair #2


Wednesday, June 10, 2015

Making a Stump Planter, or How to Barter With a Chainsaw-Owning Neighbor

We had a tree trimmer take down a tree that was showing signs of rot.  Since it was connected to another tree at its base, we were left with a stump very close to our deck.  I didn't really want to stare at a stump while sipping my sangria, so I explored what we could do with it that wouldn't harm the attached tree.
Ugly stump

There are a lot of ideas on the web about turning stumps into planters.  For example:
http://www.thisoldhouse.com/toh/how-to/intro/0,,20573015,00.html

I decided to go to the hardware store and buy a $4 chisel and give it a try.  I imagined myself a nascent wood sculptor, easily hewing a perfectly smooth and uniform concavity.  I chiseled and chiseled, and I made almost no progress at all, other than really scraping up my hands.  Despite the rotted core, the wood was surprisingly hard.
It's sad that the before and after chiseling photos are indiscernible
I remembered a neighbor saying he owned a chainsaw, and I could hear that same neighbor out working in his backyard.  I devised a barter offer I thought would be a sure success- a pan of homemade brownies with chocolate buttercream frosting in exchange for hollowing out the top of the stump with his chainsaw.  I stood on our stack of wood and hollered over the fence and asked him if he liked brownies.  To my dismay, he answered that he is allergic to chocolate.  At another time, I might have paused to mourn this sad state of affairs, but I was focused on the objective at hand.  I asked what kind of beer he liked, thinking a case of his favorite would be a welcome trade.  He responded that he "didn't really like beer."  Wine, I asked?  No.  Now I was really getting desperate.  Voice rising, I implored "well, what DO you like to drink?"  He stopped to think, then allowed that he did like Mountain Dew, but indulged rarely as it wasn't healthy.  Now at least I had something to work with.  "How about we trade a case of Mountain Dew for a 10 minute chainsaw job?"  He walked over and considered the stump.   His chainsaw was currently on loan to one of his friends, but as soon as he had it back, he agreed he would come over and do it.

Daily, over the course of the next three weeks, I peered out at the stump from the kitchen window to see if he'd magically come in the last 24 hours and carved it.  I was starting to think that he'd forgotten.  One evening, my son was on the porch and I was inside.  He hurried in to say "mom, there's a strange man in our backyard cutting our tree!"  I reassured him all was well, and this was no Texas chainsaw massacre.

It took a bit longer than we'd predicted- about 15 minutes of solid sawing, since the wood was really hard.  In the end, this was his result:
Hollowed stump
It just so happens I already had a square pot that fit really well into the hole.
Pot filled with a vinca vine and spike plant
A more artistic view from the deck
I fulfilled my end of the bargain and dropped off a case of Mountain Dew, as well as some pretzels to go with it.  It's good to keep your chainsaw-wielding neighbors happy. 

Tuesday, May 26, 2015

Make-Your-Own Pancake Mix. Delicious and Thrifty.

I've been making my own pancake mix for years now, and my family loves these pancakes on most Sundays.  I originally got the recipe from the book "Six Ingredients or Less" by Carlean Johnson (and the title annoys me significantly because it should be Six Ingredients or Fewer).  You might wonder why you would make your own pancake mix when you can buy a box off the shelf.  Here are three good reasons:
  • These pancakes taste good.  They're fluffy.  You can easily add other ingredients like blueberries, chopped fruit, cinnamon, vanilla extract, etc. The kids love it when I throw in a few chocolate chips
  • These pancakes are nutritionally sound.  You can use some or all whole wheat flour.  You can control how much sugar and/or salt you add.  You get some protein from the milk and egg
  • This homemade mix costs less than 1/3 the price of boxed mix.  If you're a real nerd, see below for the fun unit costs

 Pancake Mix
7 1/2 cups all-purpose flour (I use whole wheat flour for half of this amount)
1/4 cup baking powder
1 Tbsp plus 1 tsp salt (can decrease if you're concerned about sodium intake)
2/3 cup sugar


 I mix up a double batch every couple of months or so and store it in a canister ready to go. 

Pancakes from "Pancake Mix"
1 1/4 cups Pancake Mix
1 cup milk
2 Tbsp butter, melted (I always use 2 Tbsp canola oil since it's easier than melting butter)
1 egg, slightly beaten

Combine egg and milk, and butter (or oil).  Add pancake mix and stir just until combined, it should still be a little lumpy.  Use 1/4 to 1/3 cup batter per cake on a hot lightly oiled griddle or skillet. Makes 6-7 pancakes.

Tip: jot down the instructions on what to add to the pancake mix and tape it on your canister of mix, then you'll be ready to put them together quickly.

Happy flipping!

Some (incomplete) math:
Hungry Jack and Cub store brand mix were each $2.49 for 32 oz, or 7.8 cents per oz.  This is a pretty decent margin on what are really very inexpensive ingredients.

I buy flour in bulk, 25 lbs for $8.98, or 2.2 cents per oz
Sugar is 4.2 cents per oz

Saturday, May 16, 2015

Sewing Prom Dresses

I made two prom dresses for myself back in the day, so I was feeling a bit sentimental about the possibility of sewing one for my daughter, Maggie.  I wasn't sure what she wanted to do, so I broached the offer carefully, making sure she knew she wouldn't hurt my feelings if she wanted to shop for one instead.  After consulting with her friends, Maggie told me she thought it was a great idea, and we started to look at patterns.  My mom is a professional dressmaker, and not only did she want to be a part of this fun event, but she would bring her tremendous talent to the project.  We scheduled a sewing weekend on the calendar, and got busy picking out the pattern and fabric.

We found a pattern Maggie liked and that had a classic look.
Vogue 9053
Next, it was time to find fabric.  I wasn't sure what the local shops had- sometimes you have to look around a lot, including online, to find something that you want.  I went to Hancock Fabrics, and they had a pretty decent selection of formal fabrics, some with coordinating linings.  Maggie and her friend Sally debated on the available colors, holding them up to see how they went with Maggie's coloring, and eventually settled on a deep purple matte satin.
Picking fabric
We picked out thread and a zipper.
Just the right thread

The big sewing weekend arrived.  My mom altered the bodice pattern to fit Maggie perfectly, and even underlined it. 
Grandma works on the bodice

I started working on the skirt of the dress, which was so full all four pieces had to be laid flat and cut out individually for both the fashion fabric and the lining.  The circumference of the dress at the hem is 6 1/2 feet, so it was a lot of fabric.
The dog is only minimally excited about this dress
We watched a bunch of movies while we worked, including The Big Lebowski, Fantastic Mr. Fox, and The Grand Budapest Hotel.  We were laughing and having a great time.  We had to schedule periodic fittings around a weekend volleyball tournament Maggie was in.  We played around with different trim options for the dress.  Eventually, my mom had a great idea to do a channel stitched belt with covered buttons at the back.  Here we're doing a fitting- you can see the start of the belt on the table.
Grandma fits the belt
Maggie was so happy with the dress, and it looked beautiful on her- she got to wear it to both the Bloomington 2015 and Eden Prarie 2016 proms.

2015 Bloomington prom


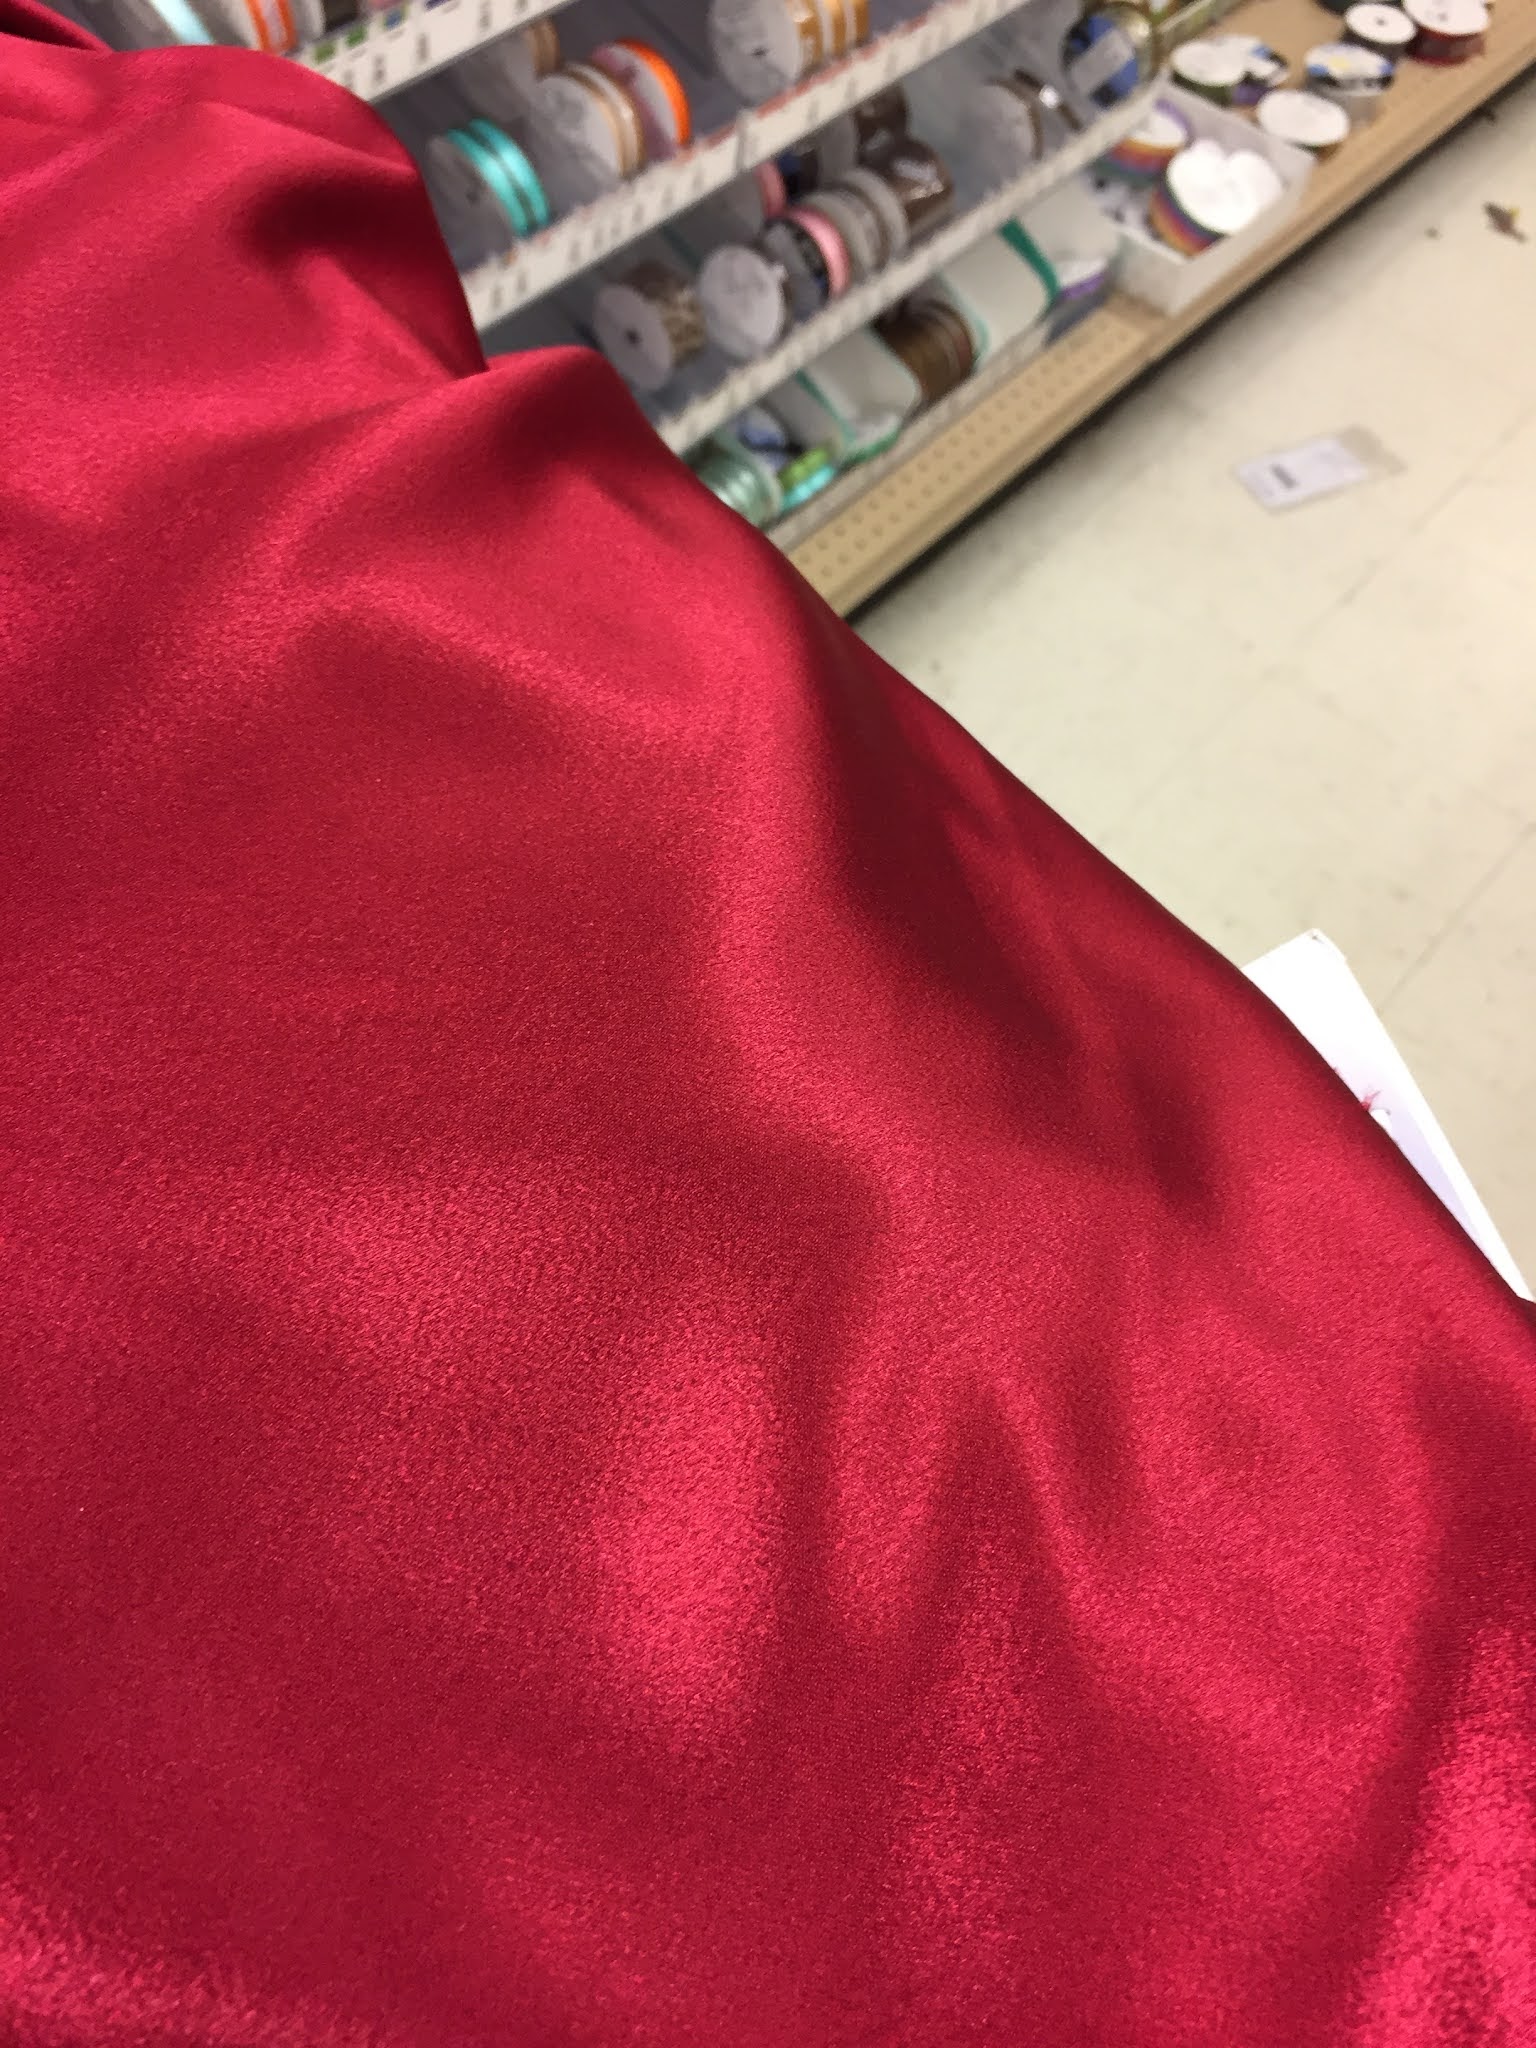
The dress was such a hit, it was a no-brainer to sew another dress for the 2016 (her senior) Bloomington prom. This time, Maggie picked McCalls 6894 view C in a red satin with coordinating red lace material in the back bodice.


The woman ahead of us at at Joann Fabrics was buying a crazy amount- we had to wait forever

Again, my mom was instrumental in assembling the dress. We were on a deadline, completing it the weekend prior to the prom, which happened to be the same weekend as the Eden Prairie prom.
2016 Eden Prairie prom


Recreating Pants from the Movie Pitch Perfect


I fell in love with the pants the main character played by Anna Kendrick was wearing in the final scene of the movie Pitch Perfect.  I LOVED the buttons on both sides.
I searched and searched online, but I couldn't find good pants like this, so I decided to try to make a pair myself.  I started with an old pattern I've had for a long time as a base, and then created my own pattern with a number of modifications.
I had to cut the front waistband out twice to get it right, but I eventually achieved an approximation I'm happy with.


Tuesday, May 12, 2015

Cleaning Mold Stains Off a Composite Deck


We had a new deck put on the back of our house in 2012.  Our old deck was wood, and was rotting in spots.  My husband had spent many hours every summer trying to stain the old deck and keep it up, which was an entirely unpleasant job, so when it was time to get a new one, we opted for Trex composite.  Composite decks are marketed as “no maintenance” which sounds nice, but in practice we (and everyone else that publishes rants on the Internet) have found that they do require some maintenance.  Our backyard is very shady and filled with mature trees that produce a lot of tree pollen and other detritus.  It turns out these are optimal conditions for growing mold on your deck.  In particular, what seems to be called leopard spotting mold (see the picture, which is a bit deceiving with the shady and sunny patches, but you can see the spots).

We’ve scrubbed the deck each year trying various basic cleaners, without any impact on the mold spotting.  This year we decided to get serious and look for a product that was more likely to help us. 
I did some Internet research and found 3 candidates for us to consider:
·         Olympic Deck Cleaner
·         Corte-Clean Composite Deck Cleaner
·         Expert Chemical Composite Deck Cleaner
The Olympic Deck Cleaner was not formulated for composite, and didn’t really excite us- middling reviews on various websites for mold.  We eliminated it right away.  The other two were formulated for composite decks, but the Corte-Clean had much fussier application instructions and sounded more likely to kill plants, so we opted for the Expert Chemical.  I stopped by a few local stores, but nobody carried it, so I ended up ordering 3 gallons off the Home Depot website and had it delivered to the store.  Our total bill was $61.08.
It took about a week and a half before it was delivered, and when we picked it up, it had a 4 week shelf life, so we understood that it is more-or-less made to order.  It came with a DVD demonstrating how to apply it.  We cleared all of the furniture off the deck, and my husband put on his grubbiest work pants and got busy spraying and scrubbing with a long brush. 
The whole job took about 3 hours.  He had enough cleaner for the deck, but not enough to do the rails.  We think the next time we do this that we’re still going to order 3 gallons, though, and he won’t apply quite as heavily.  It worked great, restoring the deck to what it looked like when it was new.  No more spots!


Now we’re ready to sit on the deck and sip a gin and tonic.

2020 update:
We're finding that we can do this big application every other year, and scrub the deck with a good soaping on the off years. This spring, there was some buildup of green mildew in a shady spot on the South side. Andy made a basic bleach solution (1 c bleach to 1 gallon water) and scrubbed this section- it helped a good bit.
Before cleaning

After cleaning with a bleach solution