Thursday, June 2, 2016

Hosting a Graduation Open House

Our daughter and her best friend wanted to have a joint graduation open house party, and it was so nice to collaborate with another family- while the party naturally had a larger guest list, there were many hands to share the work, not to mention the highly engaged graduates themselves. As you would expect, the project manager in me decided we would benefit from a detailed plan and schedule. I searched online and didn't find much, so I created my own in Excel, a summary of major tasks are listed here:

Task Suggested time
Develop preliminary list of attendees, including the number who will be receiving printed invitations 4 months
Determine location- your house/elsewhere  4 months
Pick date and time, discuss and set budget 4 months
If applicable, order tables, chairs, tent (we rented from Midway Party Rental and paid for them to deliver, set up, and pick up) 2-4 months
Determine party theme and preliminary food options 3 months
Develop preliminary list of attendees who are likely to attend (drives initial food planning and budgeting).  Try to estimate the number of the graduate's friends who will attend from the inevitable Facebook invites 3 months
Finalize menu, estimated food amounts, sources and costs.  Place orders for food items at more popular venues 2.5 months
Order printed invitations 2 months

Plan any gifts for your graduate 6 weeks
Prepare venue- prep yard, clean house, straighten up garage, etc 6 through 1 weeks
Send invites 1 month
Plan decorations and determine sources and costs 1 month
Prepare picture boards and other "memory table" items (we rented a photo booth) 2-4 weeks
Order customized items, such as customized M & Ms 3-4 weeks
Collect any yard games you'll want to use 3 weeks
Identify serving ware you will use for each type of food, and ways to keep hot food hot and cold food cold, borrow or buy any missing items 2 weeks
Shop for decorations, plates, napkins, cups, etc.  Line up "volunteer" kitchen staff if you can 2 weeks
Finalize backup plan for inclement weather based on early weather predictions 1-2 weeks
Prep camera, assign someone to take frequent pictures 1 week
Clean bathrooms, provide extra TP, soap, towels day before
Set up food serving areas, arranging serving dishes to ensure good flow day before
Put up decorations day before
Cook and/or pick up food day before/day of
Have your graduate start writing thank you notes- the next day


Invitations

Wow that's a lot of bottled water

Plus a ton of milk, fruit and other supplies

Ready for guests!

Scones, bakewell tartlets, cupcakes

Grandpa's "crack" brownies, cookie dough bars, lemon bars, raspberry bars, chocolate peanut butter bars

Homemade fruit arrangement

Candy buffet


The "shrine" included the travel pillow (see Here) and graduation photo book (see Here) I'd made her.

Customized M&Ms- Cute, but pricey- $60 for 2 lbs.
The party was so much fun, and everyone had a great time.


Fabulous T-shirt quilt made by Grandma Pam


Thursday, May 19, 2016

Dry Cleaning is Overrated

Dry cleaning is a pain.  Aside from the cost and environmental concerns, you have to drive there to drop off and pick up, and the driving is more time consuming than just taking care of washing something at home.  I've been dabbling in hand washing for many years, but an article in the Star Tribune encouraged me to wash an even wider array of clothing.  Here are the specific tips on caring for clothes at home and avoiding dry cleaning from the Star Tribune:


  • Dress shirts: Pre-treat collars, cuffs and underarms with vinegar or diluted oxygen bleach before each wash.  I use an old toothbrush to scrub stain treatment along the collar band

  • Denim: Turn inside out and wash with a gentle detergent

  • Sweaters (including cashmere): Hand-wash in sudsy ammonia or toss them into a mesh laundry bag and into the machine with a gentle detergent or shampoo. Wash on the delicate cycle. This works for blanket throws, too

  • Suits, sport coats, wool pants: Place in a mesh laundry bag and wash with Woolite on the delicate cycle. Warning: It will be a big wrinkly blob when it comes out. Hang up until almost dry, then steam it (while hanging) and iron the lapels

  • Winter coats and comforters: Treat stains, then wash with a gentle detergent. Hang until almost dry, then finish in the dryer with tennis balls

  • Silk ties: Put them in mesh laundry bag, and wash with a gentle detergent or shampoo on the delicate cycle. Hang to dry

  • Rugs: Hang on a clothesline and beat the dust out. Scrub with soap and a brush, then rinse with a water hose. You’ll want the rug to dry quickly so pick a hot, windy day for this task
I rack-dry all of my delicate items, and this gives great results, as well as avoiding the shrinking risk of heat for fibers like wool. The real trick with washing it home is with the pressing.  You need a good steam iron and decent ironing technique.  I have a gravity feed iron that can really deliver steam.
Gravity Feed Steam Iron
Heavy wool coat- Called for dry clean, I hand washed
Lined jacket.  The dry cleaners could have washed it with other items, making the white dingy.  I washed it by itself- white preserved!

The Recipe Card Tea Towel

I saw this project idea somewhere and wanted to create a version for my family.  My great grandmother was an incredible cook, and she was known for many of her delicious recipes.  Her lemon bar recipe is one of our favorites.  I borrowed the well-worn card she had written the recipe on (dated 1976) from my mother and scanned it in.  I layered the recipe card front and back pictures on top of a picture of some blue gingham fabric I created by scanning the fabric.  Spoonflower prints its fabric at 150 ppi, so you adjust the size of your image by adjusting your ppi.  I had to play with the size and placement of the images to allow four towels to print on one yard of fabric.
Figuring image sizing in Spoonflower
When the fabric came in the mail, I washed and dried it, then cut the 4 towels apart and finished them.
1 yard of fabric with 4 towels printed on it
The final towels are charming, and a big hit as gifts with relatives.
Final towel

Thursday, November 5, 2015

30 Minute Small Batch Popovers, or a Savory Dutch Baby

Now that the weather is turning colder, we're back to cooking a lot of soup.  On a busy night, I often wish for something I can put together quickly to go with the soup.  Enter the popover. I have a quick small batch (6 popovers) recipe to share. When I use a muffin tin for popovers one of my main frustrations was that my popovers were sticking to the pan like glue, making them impossible to get out in one piece and a real problem to clean the pan. With a little online tip searching and trial and error, I have an approach that really improves this sticking:
  • Put a good amount of oil in each muffin cup.  About a scant teaspoon or so.  Multiple trials have demonstrated that cooking spray just doesn't work as well
  • Heat the oiled pan in your preheated oven for about 3-4 minutes (until the oil is almost smoking) then swirl the oil onto the sides of the muffin cups by rotating the pan again before putting the popover batter in the cups 
  • Take the popovers out of the pan the second you take them out of the oven
This recipe makes 6 muffin-sized popovers:

1/2 C flour
1/4 tsp salt
1/2 Tbsp melted butter or oil, if desired (I often skip it)
1/2 C milk
1 egg, lightly beaten

Preheat oven to 400.  If you have a convection oven, use convection and it will go even faster. Prep your pan as described above. Whisk ingredients together for about 2 minutes (or blend in the blender).  Pour batter into your smoking hot pan.  Bake about 22-25 min on convection, about 28-35 for a regular oven.

Enjoy them with your soup!
Ready for Soup

Sometimes even with greasing the pan well, the popovers still stick, so a Dutch Baby is a good option when you don't want to mess with the individual cups. Here is a good recipe from Bon Appetit:

3 eggs, room temp
3/4 whole milk, room temp
3 Tbsp butter, divided
1/2 C flour
2 Tbsp corn starch
1/2 tsp salt
1/2 tsp pepper

Place medium cast iron skillet in oven and preheat to 450, letting skillet heat 20-25 min. Blend eggs in blender 1 min, blend in milk, then 2 Tbsp melted butter, then add dry ingredients and blend until just combined. Swirl 1 Tbsp butter in hot skillet to melt, immediately pour in batter so butter doesn't burn. Bake until puffed and brown, 20-25 min.
Make sure your oven racks are far enough apart!


For a smaller batch Dutch baby, try this one, made here in a slightly smaller 8" cast iron skillet:
Smaller batch version of Dutch baby

Update:
Despite trying several methods of greasing in our muffin tin, I was still having real problems with sticking. My father-in-law suggested cooking popovers in greased oven-proof coffee mugs- they didn't stick! Here is the "6 muffin" amount of batter from above in two mugs.
Or, you can use the same "6 muffin" amount of batter in a small (6") cast iron skillet:
  1. Preheat convection oven to 400 with skillet in the oven
  2. Add butter, then batter
  3. Bake about 20-23 minutes, until puffed and golden.
6" Savory Dutch Baby

Dec 2023 Update:

When I was recently at the Nordicware outlet, there was a popover pan on clearance, and it came home with me. The cups on this pan are much larger, so I opted to try a halved recipe from Nordicware's website for the two of us, which made 3 large popovers:
  • 1 large egg
  • 1/4 c plus 2 Tbsp milk
  • 2 Tbsp water
  • 1/2 Tbsp melted butter or oil
  • 1/2 c flour
  • 1/4 tsp salt
  • dash rosemary (optional)
Place rack in lower 1/3 of oven and preheat to 375. Grease 3 cups of popover pan. Blend ingredients in blender and divide into 3 cups in pan. Bake 40-45 min (or less if using convection).

Saturday, October 17, 2015

The Chocolate Pie Contest

The idea for this pie contest grew from my husband Andy's ongoing pining for the legendary chocolate pie he used to get at the Lincoln Del, which closed in 2000.
Lincoln Del Bloomington

The legendary chocolate pie
I set out to try a series of recipes in an attempt to recreate his memory of the Lincoln Del's pie.  Obviously, there would be challenges with this task.  Who really remembers what a pie was like when you haven't eaten it in over 15 years?  There are published recipes that call themselves versions of the Lincoln Del chocolate pie, with a few variations, but I wasn't confident they'd be the best.  I also had some other chocolate pie recipes I'd collected over the years I thought should be tried.  I started by asking Andy what he liked best about the Lincoln Del pie.  His critical-to-quality criteria were the texture of the chocolate filling (he described it as somewhat dense and firm) and the deep chocolate taste.  Of course, he also reminisced about the ridiculous 2.5" layer of whipped cream, but indicated a more modest layer of whipped cream would be sufficient.  He didn't care about the crust- it was only a vehicle to contain the chocolate filling.

We discussed how we would establish pie objectivity for this contest.  I wasn't about to make and eat multiple different chocolate pies simultaneously, so we needed a way to rate the pies and track data over months.  Unless you're a highly trained food scientist, eating pie is a rather subjective experience.  How were we going to assess each pie so we could determine the best one?  Would we attempt to grade density on a 1-10 scale?  How would we reliably rate density in a sequential rather than parallel process?  Ultimately we accepted that there was no easy way to establish complete objectivity, and since this was pie and not nuclear fusion, we were pretty likely to have a good outcome anyhow. 

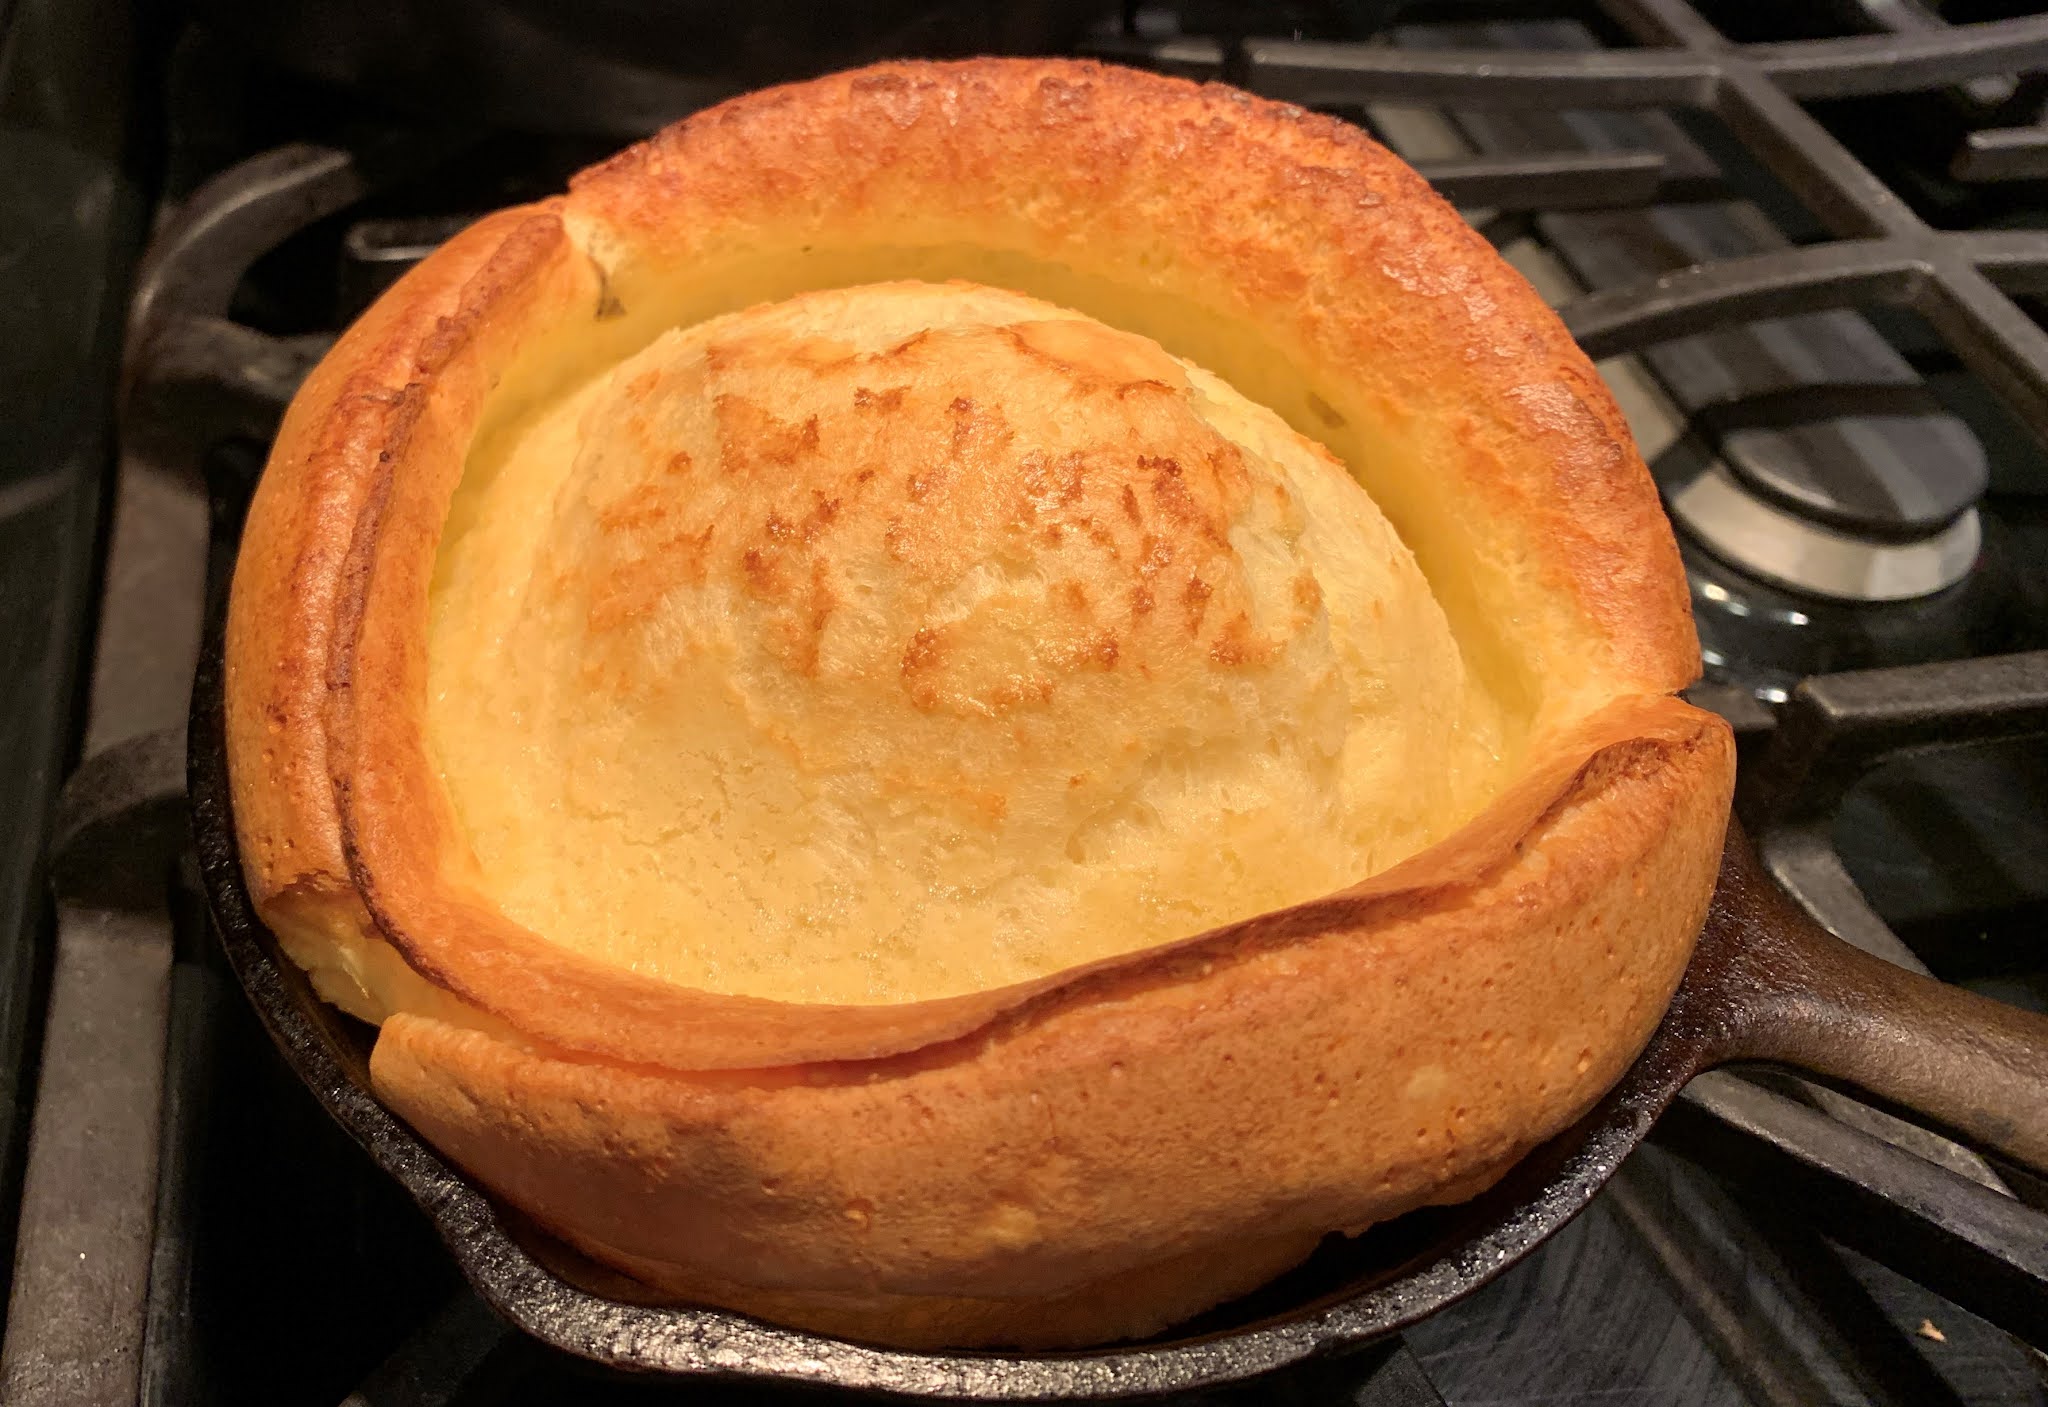
I made up a little spreadsheet and got cooking.  Along the way we learned that melted marshmallows in a chocolate pie are not a good idea.  I also took us down a chocolate cream pie detour, which triggered an important discovery: the texture Andy is looking for is more of the whipped butter texture- not the cream pie/custard texture (although the kids were big fans of the cream pie detour).  It turns out whipped butter pies are more in the "french silk" genre, and I needed to broaden my recipe search terms.

A chocolate cream pie in May
Once we figured this out, we changed course and quickly zeroed in on the ultimate winner. We officially ended the contest and declared a winner with The Best French Silk Pie recipe.

The winner!
Andy declared that this was the pie that most closely approximates all of the wonders of the old Lincoln Del pie, and that he no longer had to suffer with chocolate pie despair.  You might ask why Andy scored this winning pie a 4.7 out of 5 and not a 5/5.  He maintains a philosophy that if you ever give a perfect score, the cook could become complacent and have nothing left to strive for.


Date made
 Recipe title
Score out of 5
4/25/2014
Lincoln Del Chocolate Pie copycat recipe
4.5
5/25/2014
Hershey Bar Pie
4
6/13/2014
Gourmet Magazine Chocolate cream pie
4.3
3/5/2015
Penzey's Chocolate Bavarian Cream pie
3.5
5/1/2015
Chocolate cream pie made w/ sweetened condensed milk
4.25
5/11/2015
Pioneer Woman French silk pie
4.4
8/22/2015
King Arthur chocolate ice box pie (made and served by my mother, who knew nothing about the ongoing pie contest)
4.2
9/13/2015
The Best French Silk Pie
4.7

The winning recipe was from Avery Cooks:
The Best French Silk Pie
 You'll see this recipe has a 30 min beating time with intermittent egg additions- I wouldn't attempt it without a sturdy stand mixer.  The recipe is here with its Oreo crust, Andy prefers a standard crust (see my no-roll recipe below).

The Best French Silk Pie

Yield: one 9-inch pie, 8 generous servings
Prep Time: 40 minutes
Total Time: 4+ hours or overnight, for setting up
Ingredients:
Crust
20 Oreo cookies, finely crushed (I use chocolate-filled Oreos rather than white-filled, and regular rather than Double-Stuffed)
3 tablespoons unsalted butter, melted
Filling
6 ounces dark chocolate, at least 72%, chopped (Trader Joe’s Pound Plus 72%, or unsweetened baker's chocolate may be substituted)
1 cup (2 sticks) unsalted butter, softened (I use salted butter and omit the pinch of salt)
1 1/2 cups ultrafine sugar, also called baker's sugar (I’ve used granulated and it’s been fine)
1 teaspoon vanilla extract
1/2 teaspoon instant espresso granules, optional but recommended
pinch salt, optional and to taste
4 large eggs, at room temperature
Topping
2 cups freshly whipped cream
3 to 4 ounces dark chocolate (72% or higher) roughly chopped, for sprinkling
Directions:
Crust - Preheat oven to 350F 
  1. Add Oreos to the canister of a food processor and process until finely ground, 1 to 2 minutes on high power; set aside.
  2. In a small microwave-safe bowl, melt the butter, about 1 minute on high power.
  3. Add melted butter to canister of food processor and process until incorporated, about 30 seconds.
  4. Turn crumbs out into pie dish and using your fingers, hard-pack the mixture to create a crust, making sure to cover sides of pie dish.
  5. Bake for 10 minutes, or until just set. Place on a wire rack to cool.
Filling - In a medium microwave-safe bowl, melt the chocolate, about 1 to 2 minutes on high power. Stop after 1 minute to check and stir. Heat in 15 second increments until chocolate can be stirred smooth; set aside to cool.
  1. To the bowl of a stand mixer fitted with the paddle attachment, add the butter, sugar, and beat on high power until very light and fluffy, about 5 minutes, stopping as necessary to scrape down the sides of the bowl. Mixture should be very pale, almost white; the lighter and fluffier the better to ensure sugar is well on its way to being dissolved and incorporated fully.
  2. Add the vanilla, espresso granules, optional salt, cooled chocolate, and beat on high power until incorporated and mixture is fluffy, about 3 to 4 minutes.
  3. Stop, scrape down the sides of the bowl, remove paddle attachment, switch to whisk attachment, add 1 egg, and beat for 5 minutes on high power.
  4. Stop, scrape down the sides of the bowl, add the second egg, beat for 5 minutes on high power. Repeat process with remaining eggs. Eggs are added 1 at a time, spaced 5 minutes apart, for a total of 20 minutes active whipping time. After 20 minutes, make sure your mixture is smooth, silky, fluffy, with zero traces of graininess. Continue beating until you're satisfied with the smoothness because this is what your pie will taste like.
  5. Turn mixture out into crust, smoothing the top lightly with a spatula. Cover with plastic wrap and place in fridge for at least 4 hours (overnight is better) for pie to set up fully.
Topping - Add the whipped topping/cream, smoothing it lightly with a spatula.

Sprinkle evenly with chopped chocolate before slicing and serving. Pie will keep covered in the fridge for up to 5 days.

My no-roll pie crust

I do not like to roll out pie crust. I just don't. I've been cooking for 30+ years, and this fact has not changed. I'll rise to the occasion a couple of times a year because a few people in my family are pie crust purists, but for basic, single crust purposes, this is my go-to approach. Salty, flaky, easy, mixed in the pie plate, no messy surfaces or swearing. If you're a pie crust purist- keep rolling. If you, too, hate to roll out crust, give this a try.
    • 1 1/2 cups flour
    • 1 teaspoon salt
    • 1-2 teaspoons sugar (I usually omit)
    • 1/2 cup oil (fresh, and mild-flavored such as canola)
    • 2 tablespoons milk 
  1. Mix dry ingredients together with a fork in a pie pan.
  2. Make a well in the center and add the oil and milk.
  3. Mix with a fork til it makes a ball.
  4. Flatten and press into the pan in pie crust shape and flute the edge.
  5. Bake at 375 for 10-12 minutes until golden (note- I find it usually needs a little longer to get the golden brown I'm looking for- closer to 20 min).
Mixing in pie plate

Patting out crust evenly in plate

Baked crust ready for filling

August 2020 addendum:

This Magnolia French Silk Pie recipe is really delicious, and because you cook the sugar and eggs together first, it reduces the concern about raw eggs, and it reduces the potential graininess of the pie. Andy thought this could possibly tie for first place.