We've been making apple sauce annually for a long time (since at least 2001). We aren't eating as much apple sauce now as we did when the kids were little, but still like to have it on hand as a side in the winter, on top of pancakes, or to stir into oatmeal. We've always used Haralsons, as they're our favorite apple, developed by the University of Minnesota (which has a globally renowned apple breeding program) about 100 years ago. They're crisp and tart, and delicious for eating, baking and apple sauce.
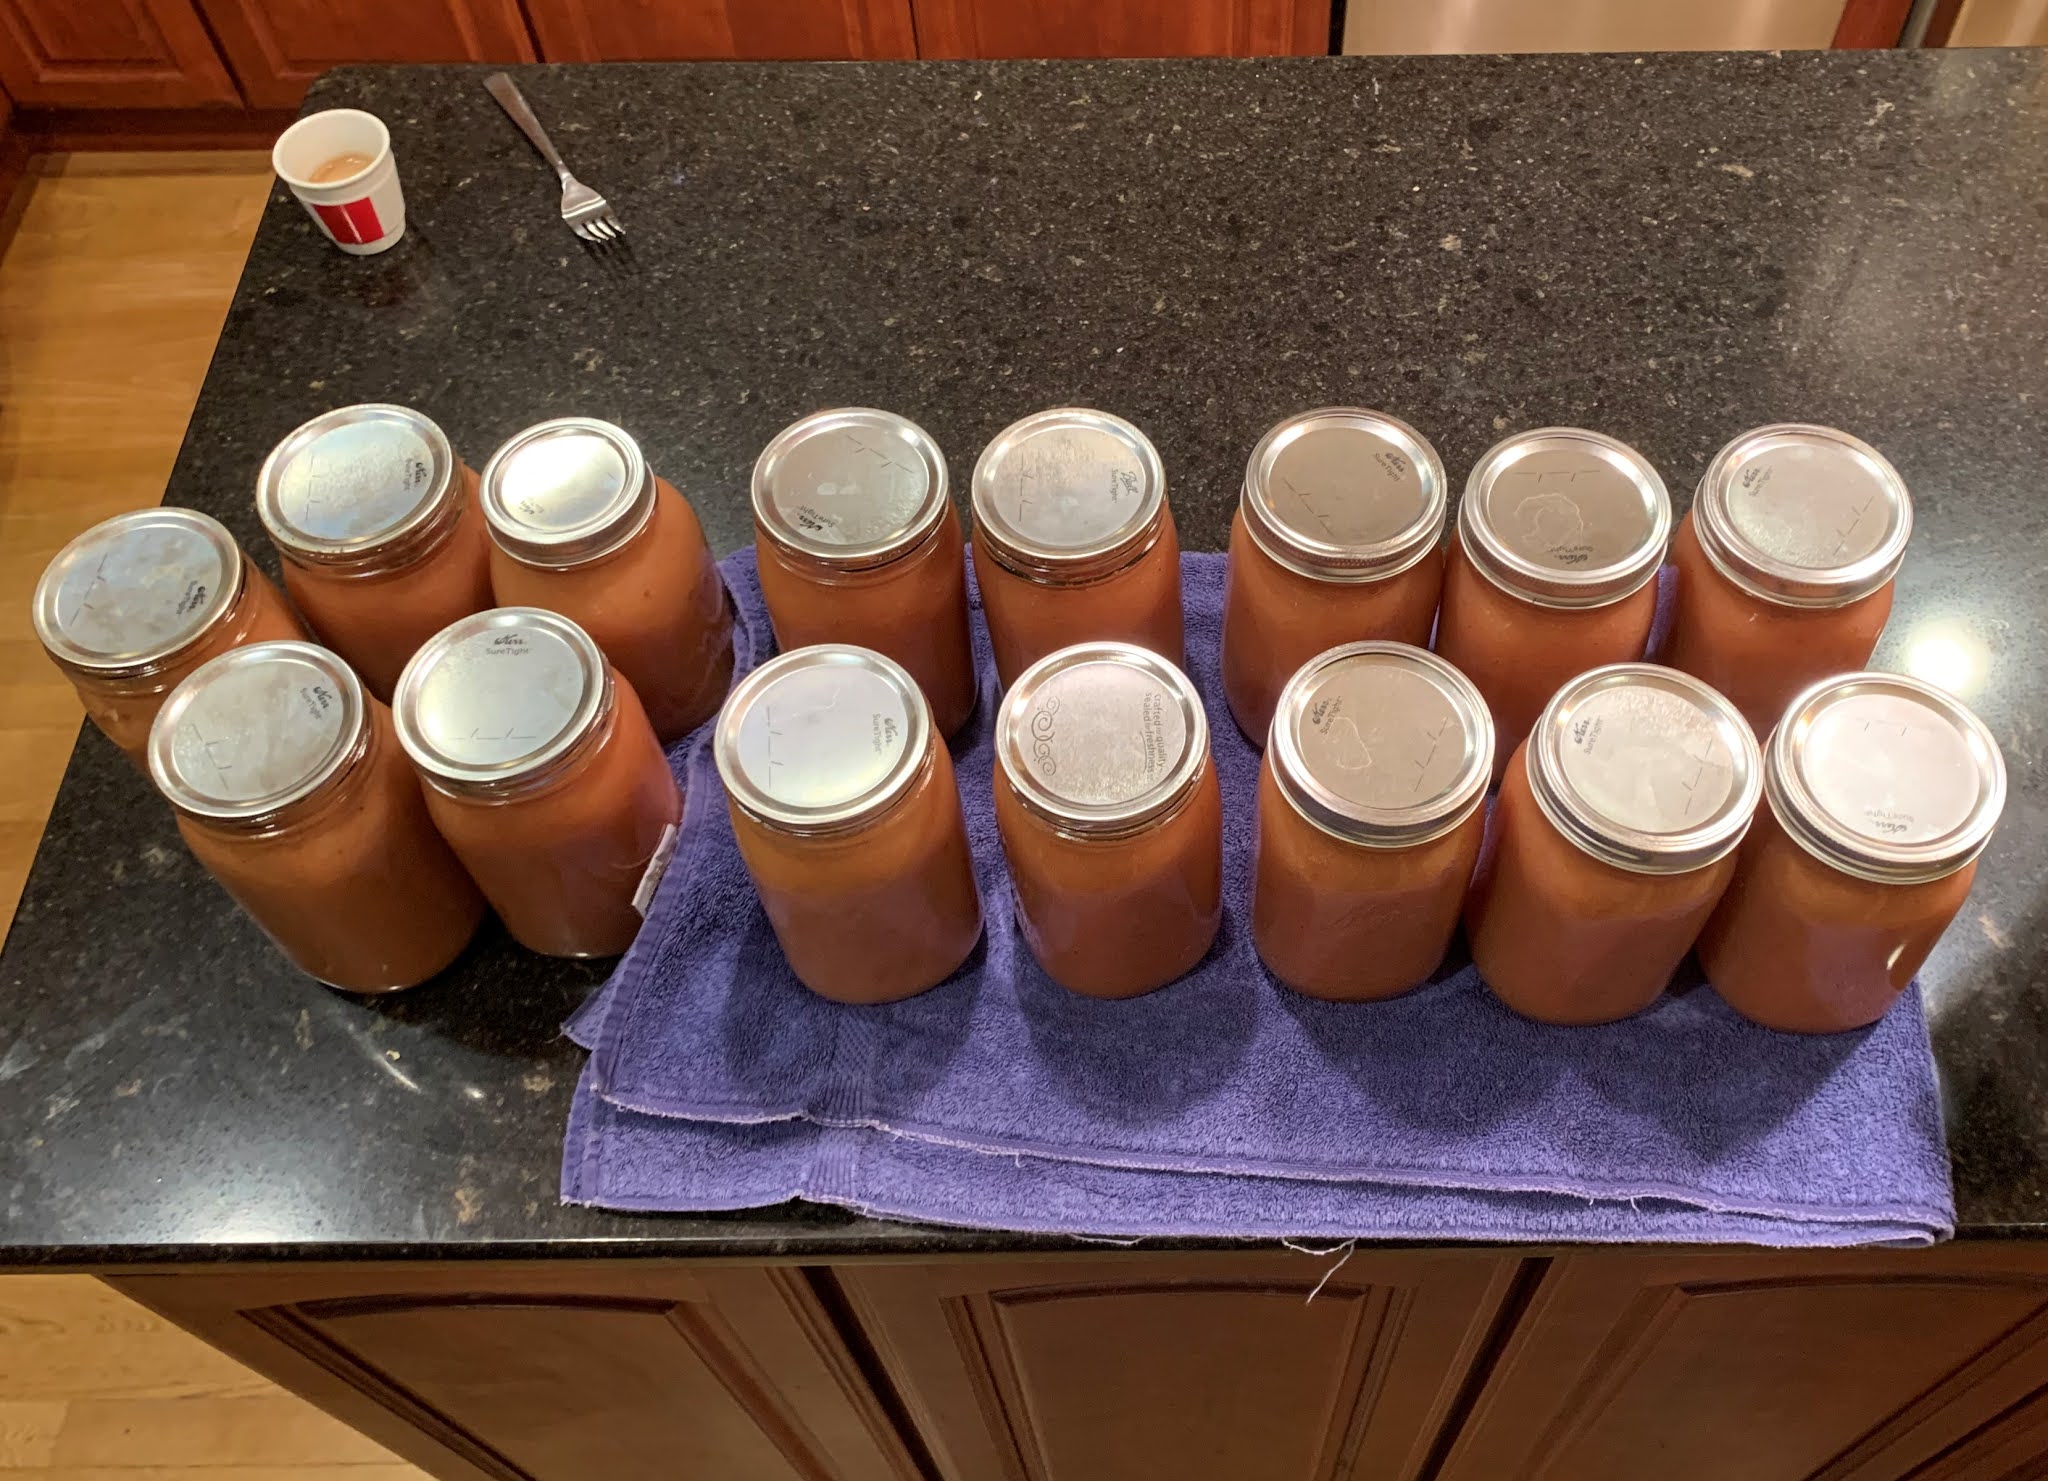
Over the years we've purchased apples from a variety of different orchards in MN and WI. We opt to buy seconds if available, as it saves money and the apples don't have to be beautiful to make sauce. This year we bought a bushel of seconds at the MN Harvest orchard in Jordan for $35 (a few years ago we were able to buy a bushel of seconds for a cool $20). A bushel is about 40-48 lbs, which has historically yielded about 14-20 one-quart jars of sauce, depending on the apple size/quality, and on how many we eat and bake with prior to making sauce. I usually make an apple pie, and this year I also made this delicious apple fritter bread. This year our yield was 15 qts.
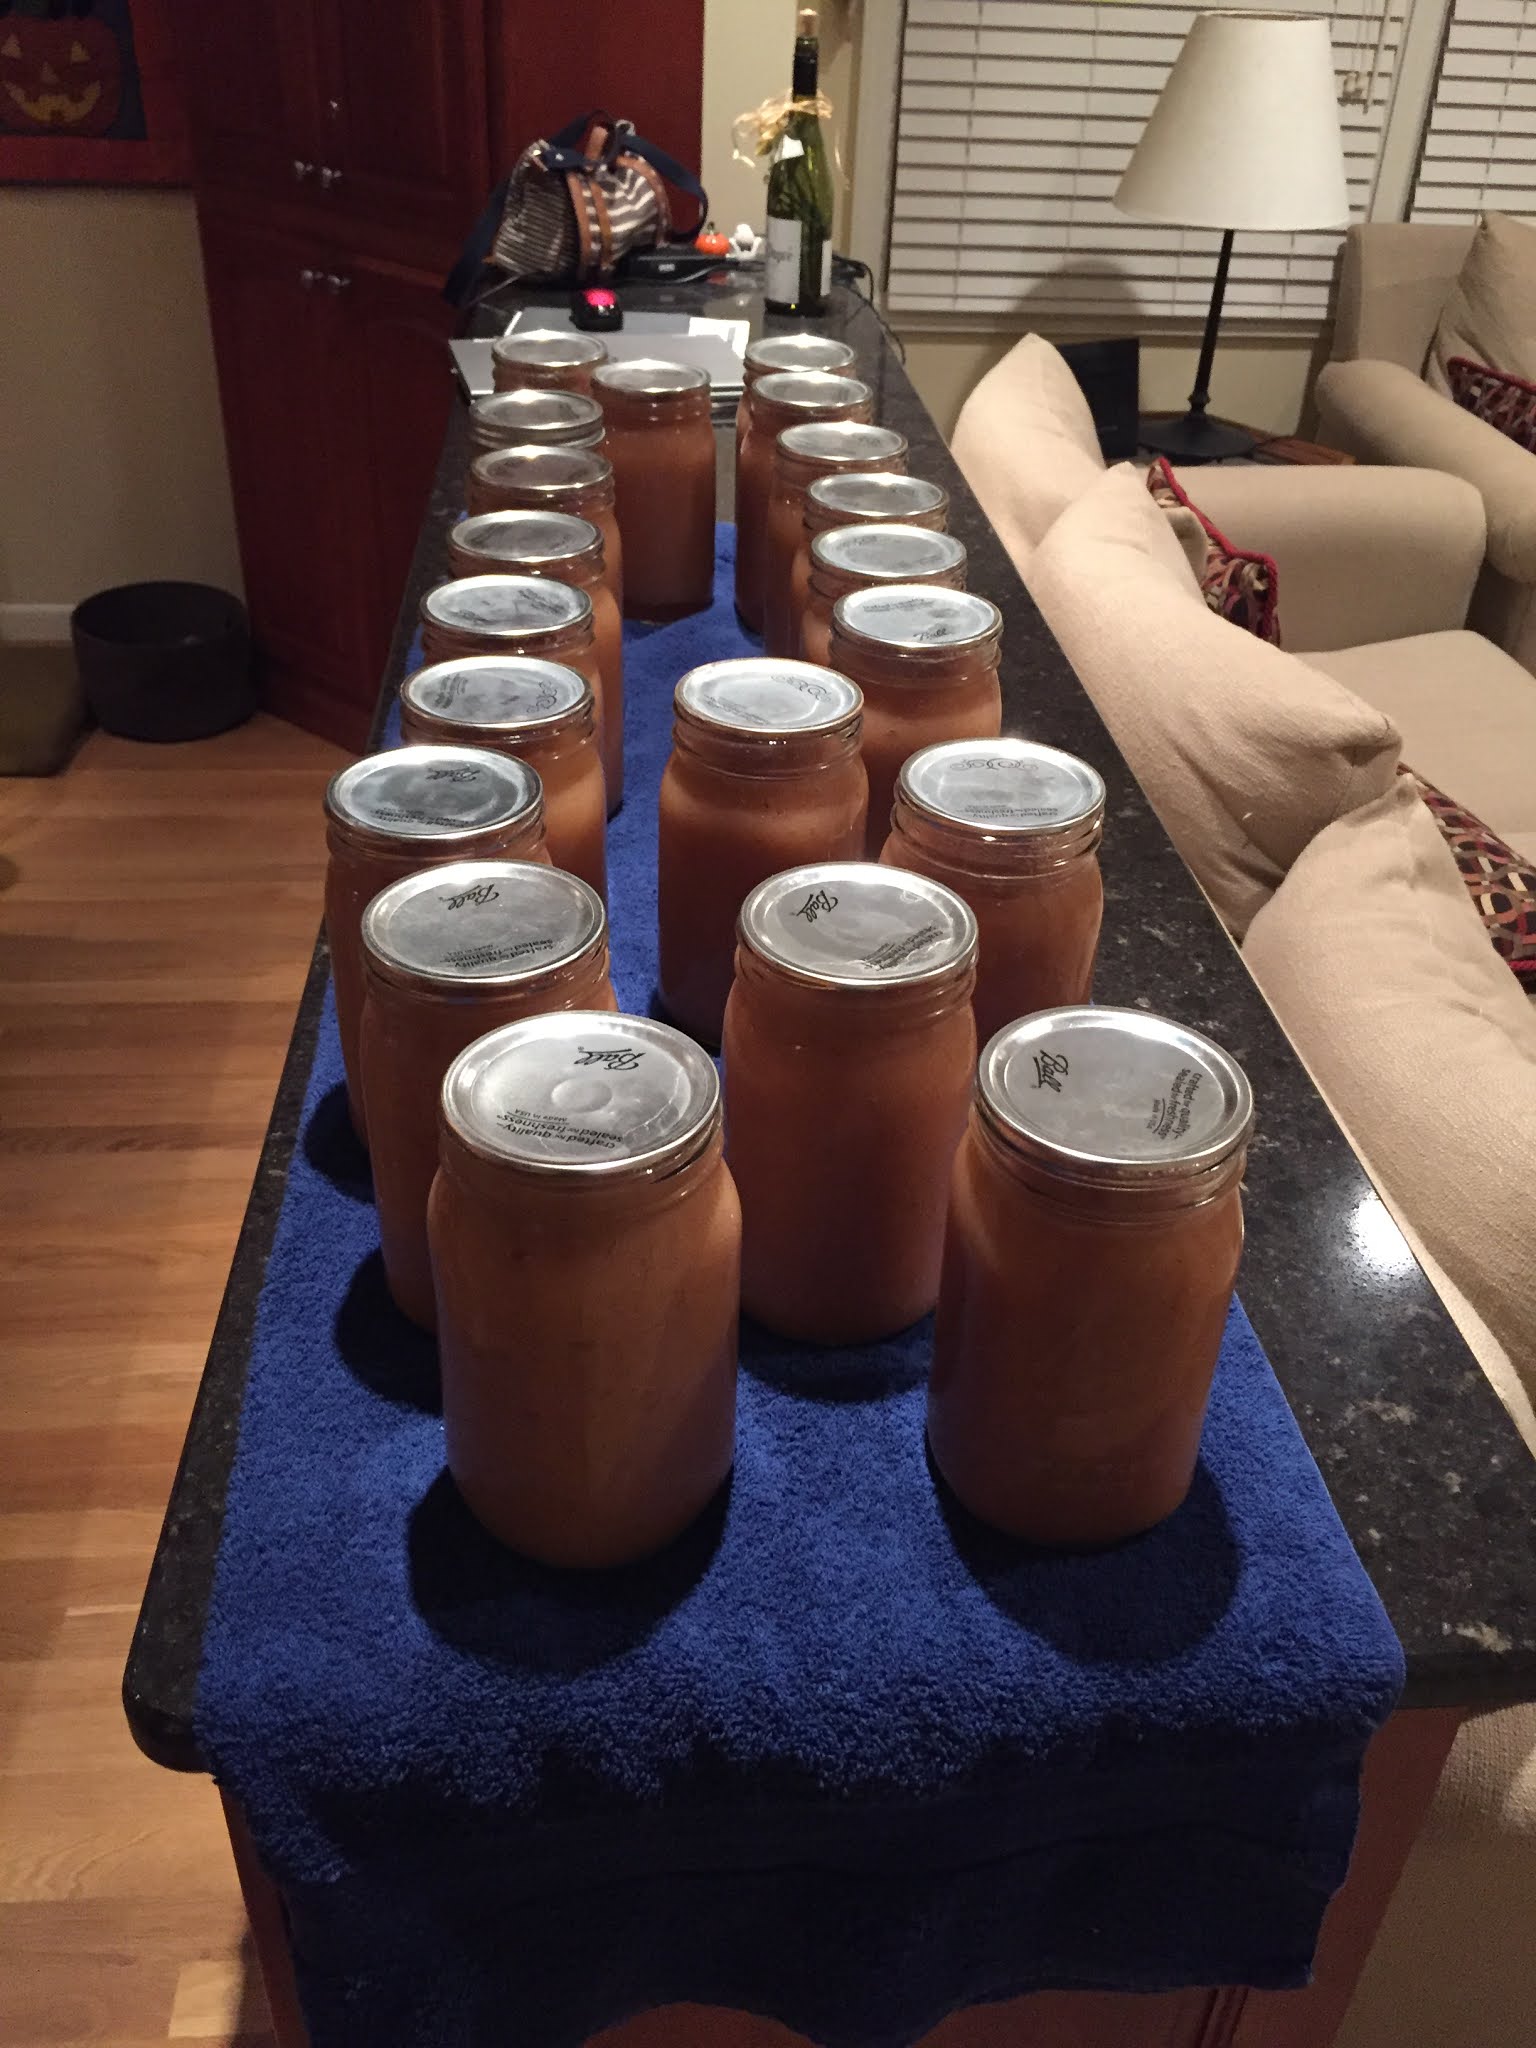
We've gotten faster over the years, and can easily do this in an afternoon, especially if we have 3-4 workers. When we fist started canning, it could stretch for hours and a few times we were exhausted by the end of a later night. As I've kept notes over the years, the most we've canned was in 2010, when we bought 2 bushels and canned 30 qts.
We're lucky when we can do this on a cooler day- it produces a lot of heat and steam in the house. On warm days in the past, we've opened the windows, but the smell of simmering apple sauce tends to attract swarms of bees to the house.
Ingredients:
- Haralson apples
- Cinnamon (a lot- buy the bulk baggie at the store)
- Nutmeg
- White sugar
Equipment:
- Water bath canner, jar lifter
- Quart jars and lids. There is a national shortage on lids right now due to the pandemic, so we really had to scrounge our collection and borrowed lids from Andy's mom. Once I can buy lids again, I promise never to be without at least 2 boxes on hand at any time
- At least 2 large cooking pots
- Food mill of some kind
- Several large bowls
- Cutting boards and paring knives
- Big wooden spoons, ladle
- Lots of kitchen towels
- Nice to have- canning funnel
Process:
- Fill your water bath canner to the top indent and start heating- it takes a LONG time for this much water to come to a boil. Once it's boiling, let it simmer as you work on the sauce. Periodically check the water line and add water as it evaporates
- Assemble your clean jars and heat them by running them in an empty dishwasher on the quick cycle without soap
- Wash the apples in a sink full of water, scrubbing them with a clean dish scrubbing pad
- Quarter the apples and take out just the seeds and any severely bruised/rotten area. When we do this by hand with a paring knife, it's surprising how much of the apple we retain for cooking. We compost the cores and peels
- Cook the apples in a big stock pot with a little bit of water at the bottom to prevent burning/sticking. Cook with the lid on, stirring regularly, until the apples are quite soft. By cooking them with the skins on, not only do we save a lot of time and effort with peeling, but we naturally get a lot of the pectin and flavor from the skins so the apple sauce is nice and thick
- Strain out the peels using a food mill. We used to use a manual old fashioned cone food mill for a number of years, then upgraded to a grinder and food strainer attachments for our KitchenAid mixer. This removes the cooked peels, and makes a nice uniform sauce. We compost our peels and cores, and we have surprising little waste with this method
- Simmer the sauce for a few minutes and season with cinnamon (generous), nutmeg, and a little sugar until it tastes good. We use very little sugar, as we like the tart taste of the Haralson apples- this year it was about 2-3 Tbsp of sugar per about gallon of sauce
- When the sauce is ready to can, make sure your jars are nice and hot. Soak your lids for a few minutes in a container of water you've heated to near boiling in the microwave
- Fill the hot jars with sauce. Do NOT overfill- leave at least 3/4" of headspace. Wipe the tops and exteriors well with a clean damp paper towel
- Cover with lids and rings, then submerge in your canning bath
- Once the water bath is back at boiling, set your timer and process the jars in the boiling water for 20 min
- Remove the jars from the canner and place on a folded towel on a heat-proof surface. You'll gradually hear the lids pop as they cool slightly. Let them cool at least several hours before you move them. Remove rings and double check the seals by trying to lift the lid off the jar. If there are any with failure-to-seal, they can be refrigerated or frozen
- Clean the kitchen well and mop. Everything will be sticky, and you will have splatter all over the stove, backsplash and counters
- Wash the rings well, dry them in the oven to ensure they're fully dry, then rub with some vegetable oil before storing them so they don't rust
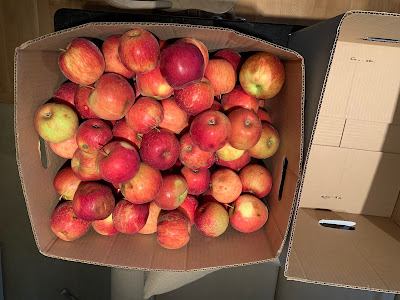 |
One bushel box (missing some apples we'd already eaten)
|
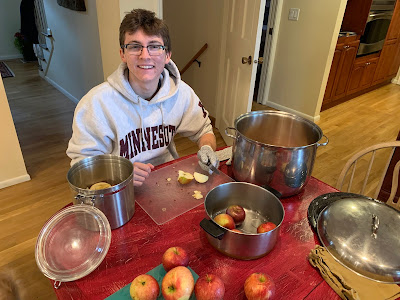 |
| Quartering and coring |
 |
| Lots of bowls |
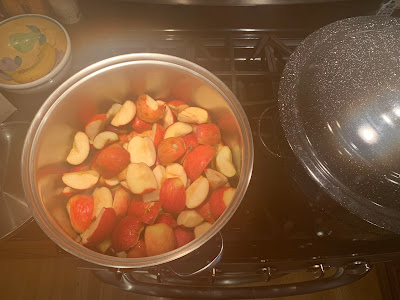 |
| Apple quarters simmering until very soft |
 |
| The cutting continues... |
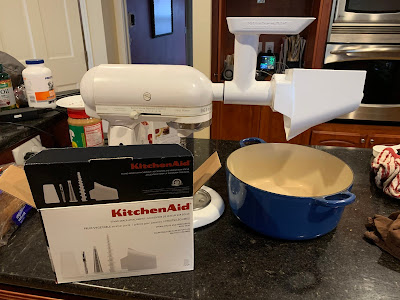 |
KitchenAid grinder and fruit strainer attachments
|


No comments:
Post a Comment