Tuesday, October 27, 2020

Trying to Enjoy Making Pie Crust- Getting Closer?

 I've shared my long-standing dislike of making pie pastry, so I don't have to repeat it here, other than to say I was recently sharing my opinion with a friend who is an excellent cook. She suggested I try Julia Child's recipe for the food processor.

I made a double-batch (2 double crusts), which was a lot of volume even for our fairly large capacity food processor, but it did come together and roll out pretty nicely. Last year I bought an extra large silicon pastry mat with circle markers, and that has made the job easier and faster to clean up.

This apple pie turned out pretty good. At first I didn't think the bottom was crisp enough, but I realized that part of that had to do with the fact that I couldn't keep my husband and son away from the pie long enough for it to cool as it should. The pie bird is still a hit as it has really eliminated boil overs.
Apple Pie
I also made two pumpkin pies, using a James Beard recipe my friend also suggested. This involved par baking the crust. It only called for 10 minutes, so I cheated and used foil as a liner but no weights/rice, and the crust really receded into the pan. I had to stretch it out again before pouring the filling. I guess that's why the recommend the weights. Despite that, they turned out deliciously.

Julia Child's Food Processor Pie Crust

Via James Beard
1 1/2 c flour
1/2 c cake flour
1/2 tsp kosher salt
3/4 c (1 1/2 sticks) butter, diced, chilled
1/4 c vegetable shortening, chilled
1/2 c very cold water

In the work bowl of a food processor fitted with a metal chopping blade, combine the flours and salt. Pulse once or twice to blend. Add the butter and shortening and pulse five or six times to cut the fat into the flour. The mixture should resemble coarse crumbs. With the processor running continuously, pour the water down the feed tube all at once. As soon as the dough begins to form a ball around the blade, stop the machine. Lay a piece of plastic wrap on a work surface and dump out the dough onto the plastic, scraping the bowl and the blade with a rubber spatula. Pat the dough into a ball, wrap tightly, and refrigerate for at least 1 hour before using.

Scented Pine Cones

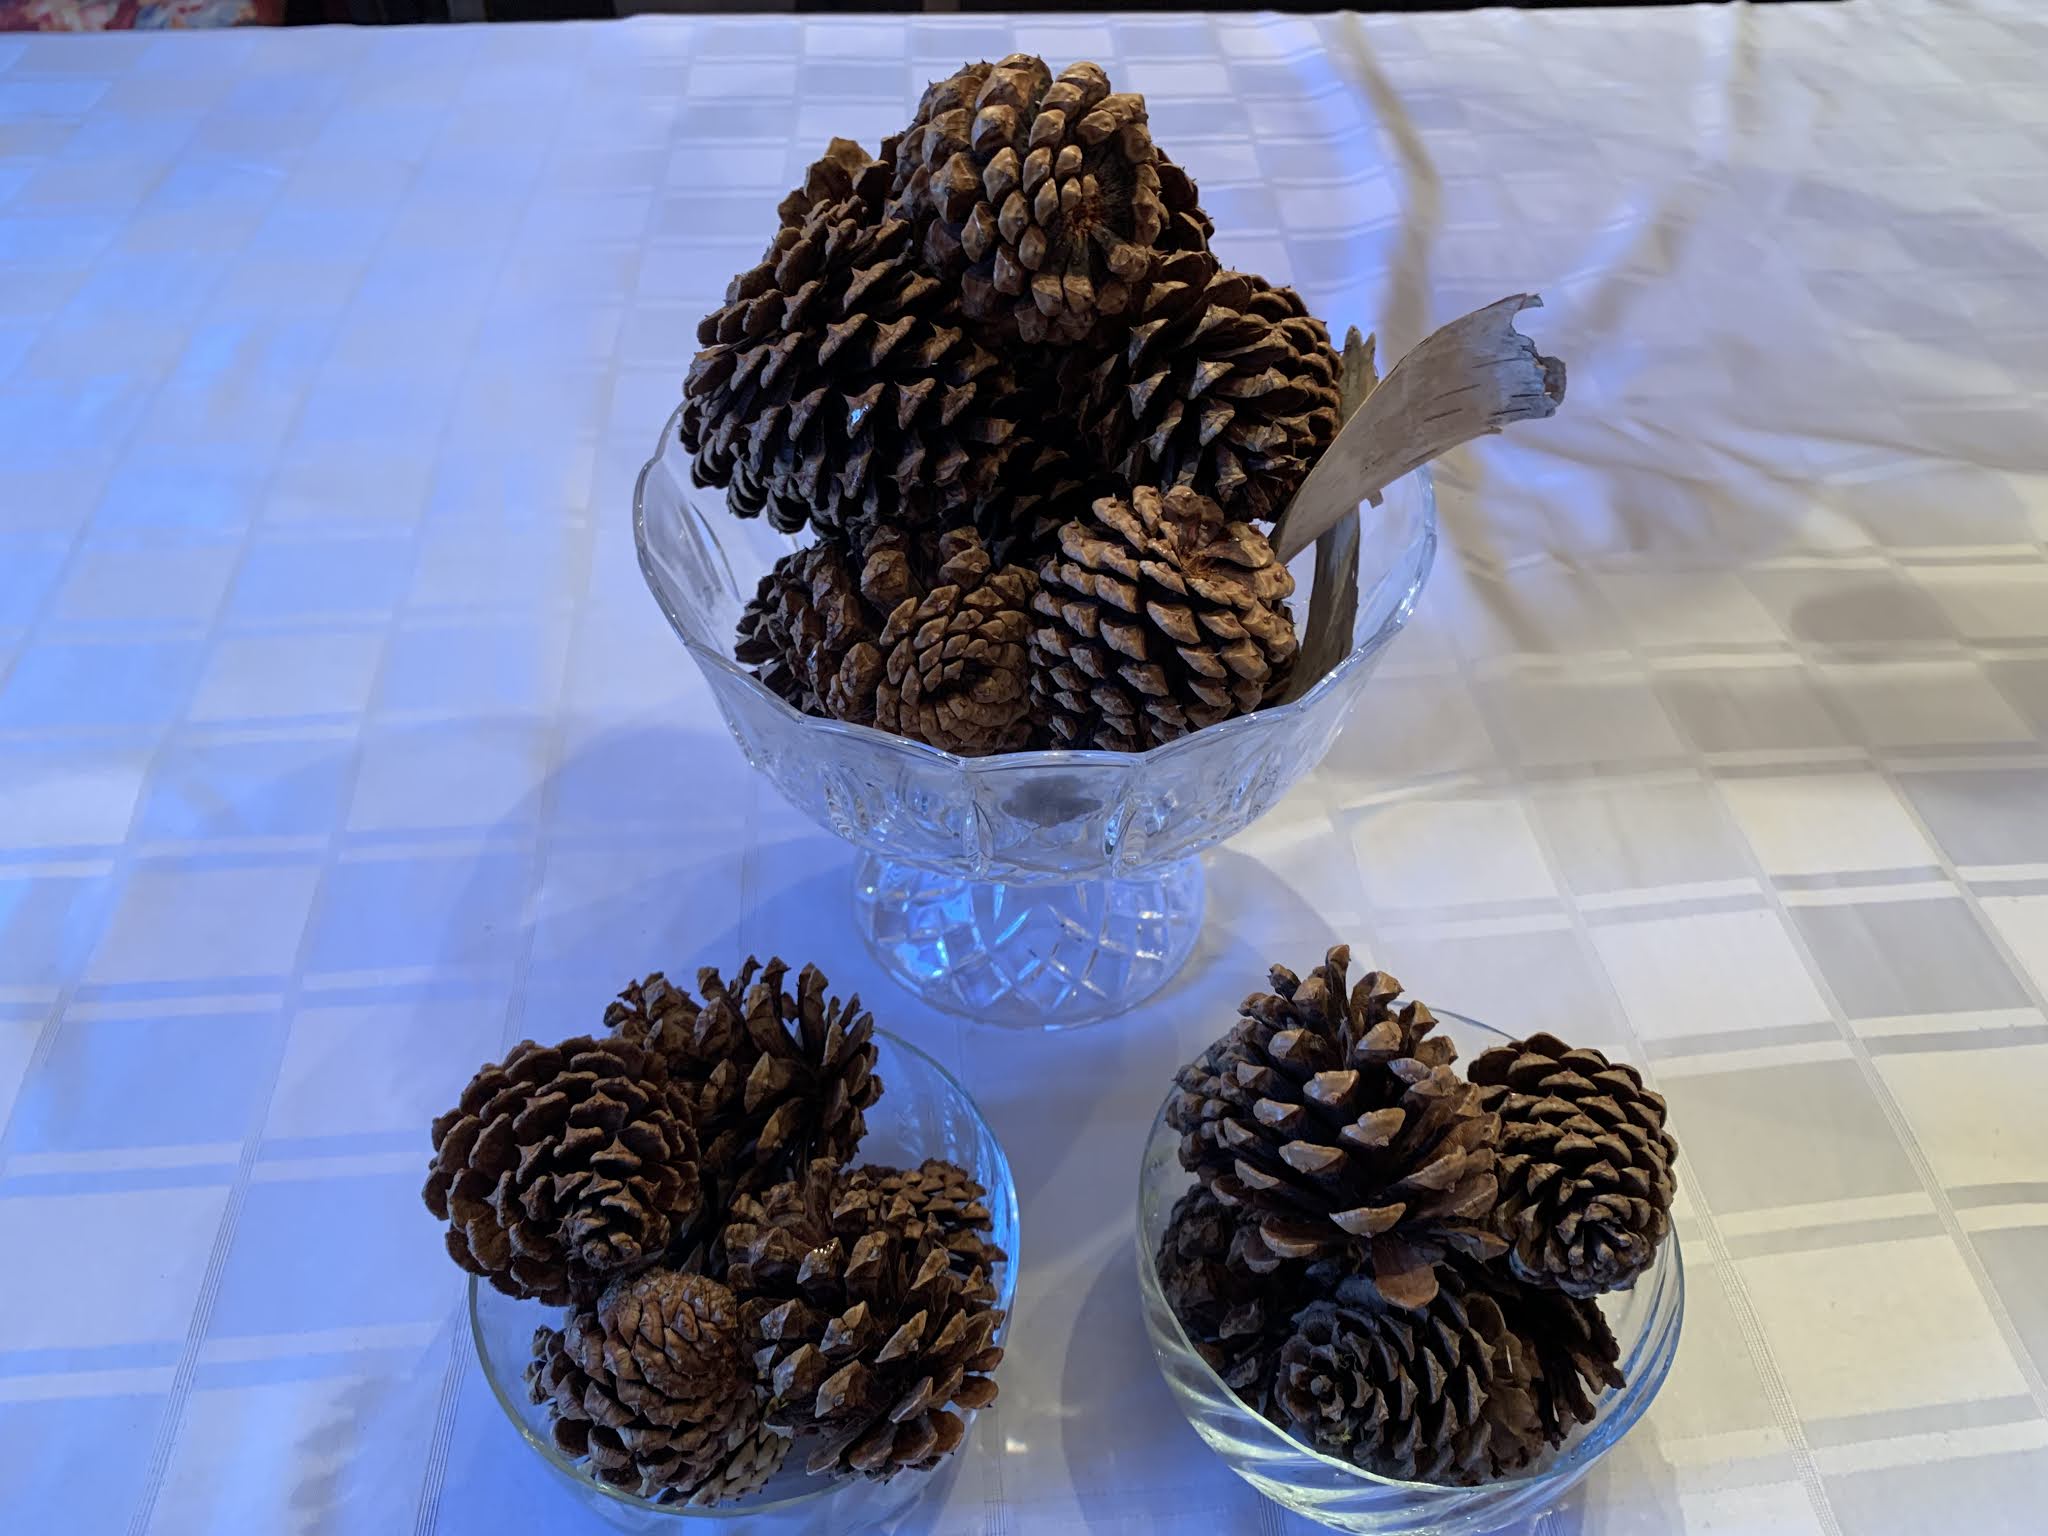
 We were camping in Custer State Park in SD, and I love the pine cones from ponderosa pines. Our campsite was filled with them, so I collected a few to bring home. I cleaned them in running water, then I baked them at 200 for one hour. When I removed them from the oven, some of them looked a little misshapen at the base, but as they cooled they generally resumed their shapes. I put some cinnamon essential oil with a little water into a spray bottle and sprayed the pine cones, then stored them in a large plastic bag for a few days. They make a nice autumn centerpiece.

Sunday, October 18, 2020

Canning Apple Sauce

 We've been making apple sauce annually for a long time (since at least 2001). We aren't eating as much apple sauce now as we did when the kids were little, but still like to have it on hand as a side in the winter, on top of pancakes, or to stir into oatmeal. We've always used Haralsons, as they're our favorite apple, developed by the University of Minnesota (which has a globally renowned apple breeding program) about 100 years ago. They're crisp and tart, and delicious for eating, baking and apple sauce.

Over the years we've purchased apples from a variety of different orchards in MN and WI. We opt to buy seconds if available, as it saves money and the apples don't have to be beautiful to make sauce. This year we bought a bushel of seconds at the MN Harvest orchard in Jordan for $35 (a few years ago we were able to buy a bushel of seconds for a cool $20). A bushel is about 40-48 lbs, which has historically yielded about 14-20 one-quart jars of sauce, depending on the apple size/quality, and on how many we eat and bake with prior to making sauce. I usually make an apple pie, and this year I also made this delicious apple fritter bread. This year our yield was 15 qts.

We've gotten faster over the years, and can easily do this in an afternoon, especially if we have 3-4 workers. When we fist started canning, it could stretch for hours and a few times we were exhausted by the end of a later night. As I've kept notes over the years, the most we've canned was in 2010, when we bought 2 bushels and canned 30 qts. 

We're lucky when we can do this on a cooler day- it produces a lot of heat and steam in the house. On warm days in the past, we've opened the windows, but the smell of simmering apple sauce tends to attract swarms of bees to the house.

Ingredients:

  • Haralson apples
  • Cinnamon (a lot- buy the bulk baggie at the store) 
  • Nutmeg
  • White sugar

Equipment:

  • Water bath canner, jar lifter
  • Quart jars and lids. There is a national shortage on lids right now due to the pandemic, so we really had to scrounge our collection and borrowed lids from Andy's mom. Once I can buy lids again, I promise never to be without at least 2 boxes on hand at any time
  • At least 2 large cooking pots
  • Food mill of some kind
  • Several large bowls
  • Cutting boards and paring knives
  • Big wooden spoons, ladle
  • Lots of kitchen towels
  • Nice to have- canning funnel

Process:

  • Fill your water bath canner to the top indent and start heating- it takes a LONG time for this much water to come to a boil. Once it's boiling, let it simmer as you work on the sauce. Periodically check the water line and add water as it evaporates
  • Assemble your clean jars and heat them by running them in an empty dishwasher on the quick cycle without soap
  • Wash the apples in a sink full of water, scrubbing them with a clean dish scrubbing pad
  • Quarter the apples and take out just the seeds and any severely bruised/rotten area. When we do this by hand with a paring knife, it's surprising how much of the apple we retain for cooking. We compost the cores and peels
  • Cook the apples in a big stock pot with a little bit of water at the bottom to prevent burning/sticking. Cook with the lid on, stirring regularly, until the apples are quite soft. By cooking them with the skins on, not only do we save a lot of time and effort with peeling, but we naturally get a lot of the pectin and flavor from the skins so the apple sauce is nice and thick
  • Strain out the peels using a food mill. We used to use a manual old fashioned cone food mill for a number of years, then upgraded to a grinder and food strainer attachments for our KitchenAid mixer. This removes the cooked peels, and makes a nice uniform sauce. We compost our peels and cores, and we have surprising little waste with this method
  • Simmer the sauce for a few minutes and season with cinnamon (generous), nutmeg, and a little sugar until it tastes good. We use very little sugar, as we like the tart taste of the Haralson apples- this year it was about 2-3 Tbsp of sugar per about gallon of sauce
  • When the sauce is ready to can, make sure your jars are nice and hot. Soak your lids for a few minutes in a container of water you've heated to near boiling in the microwave
  • Fill the hot jars with sauce. Do NOT overfill- leave at least 3/4" of headspace. Wipe the tops and exteriors well with a clean damp paper towel
  • Cover with lids and rings, then submerge in your canning bath
  • Once the water bath is back at boiling, set your timer and process the jars in the boiling water for 20 min
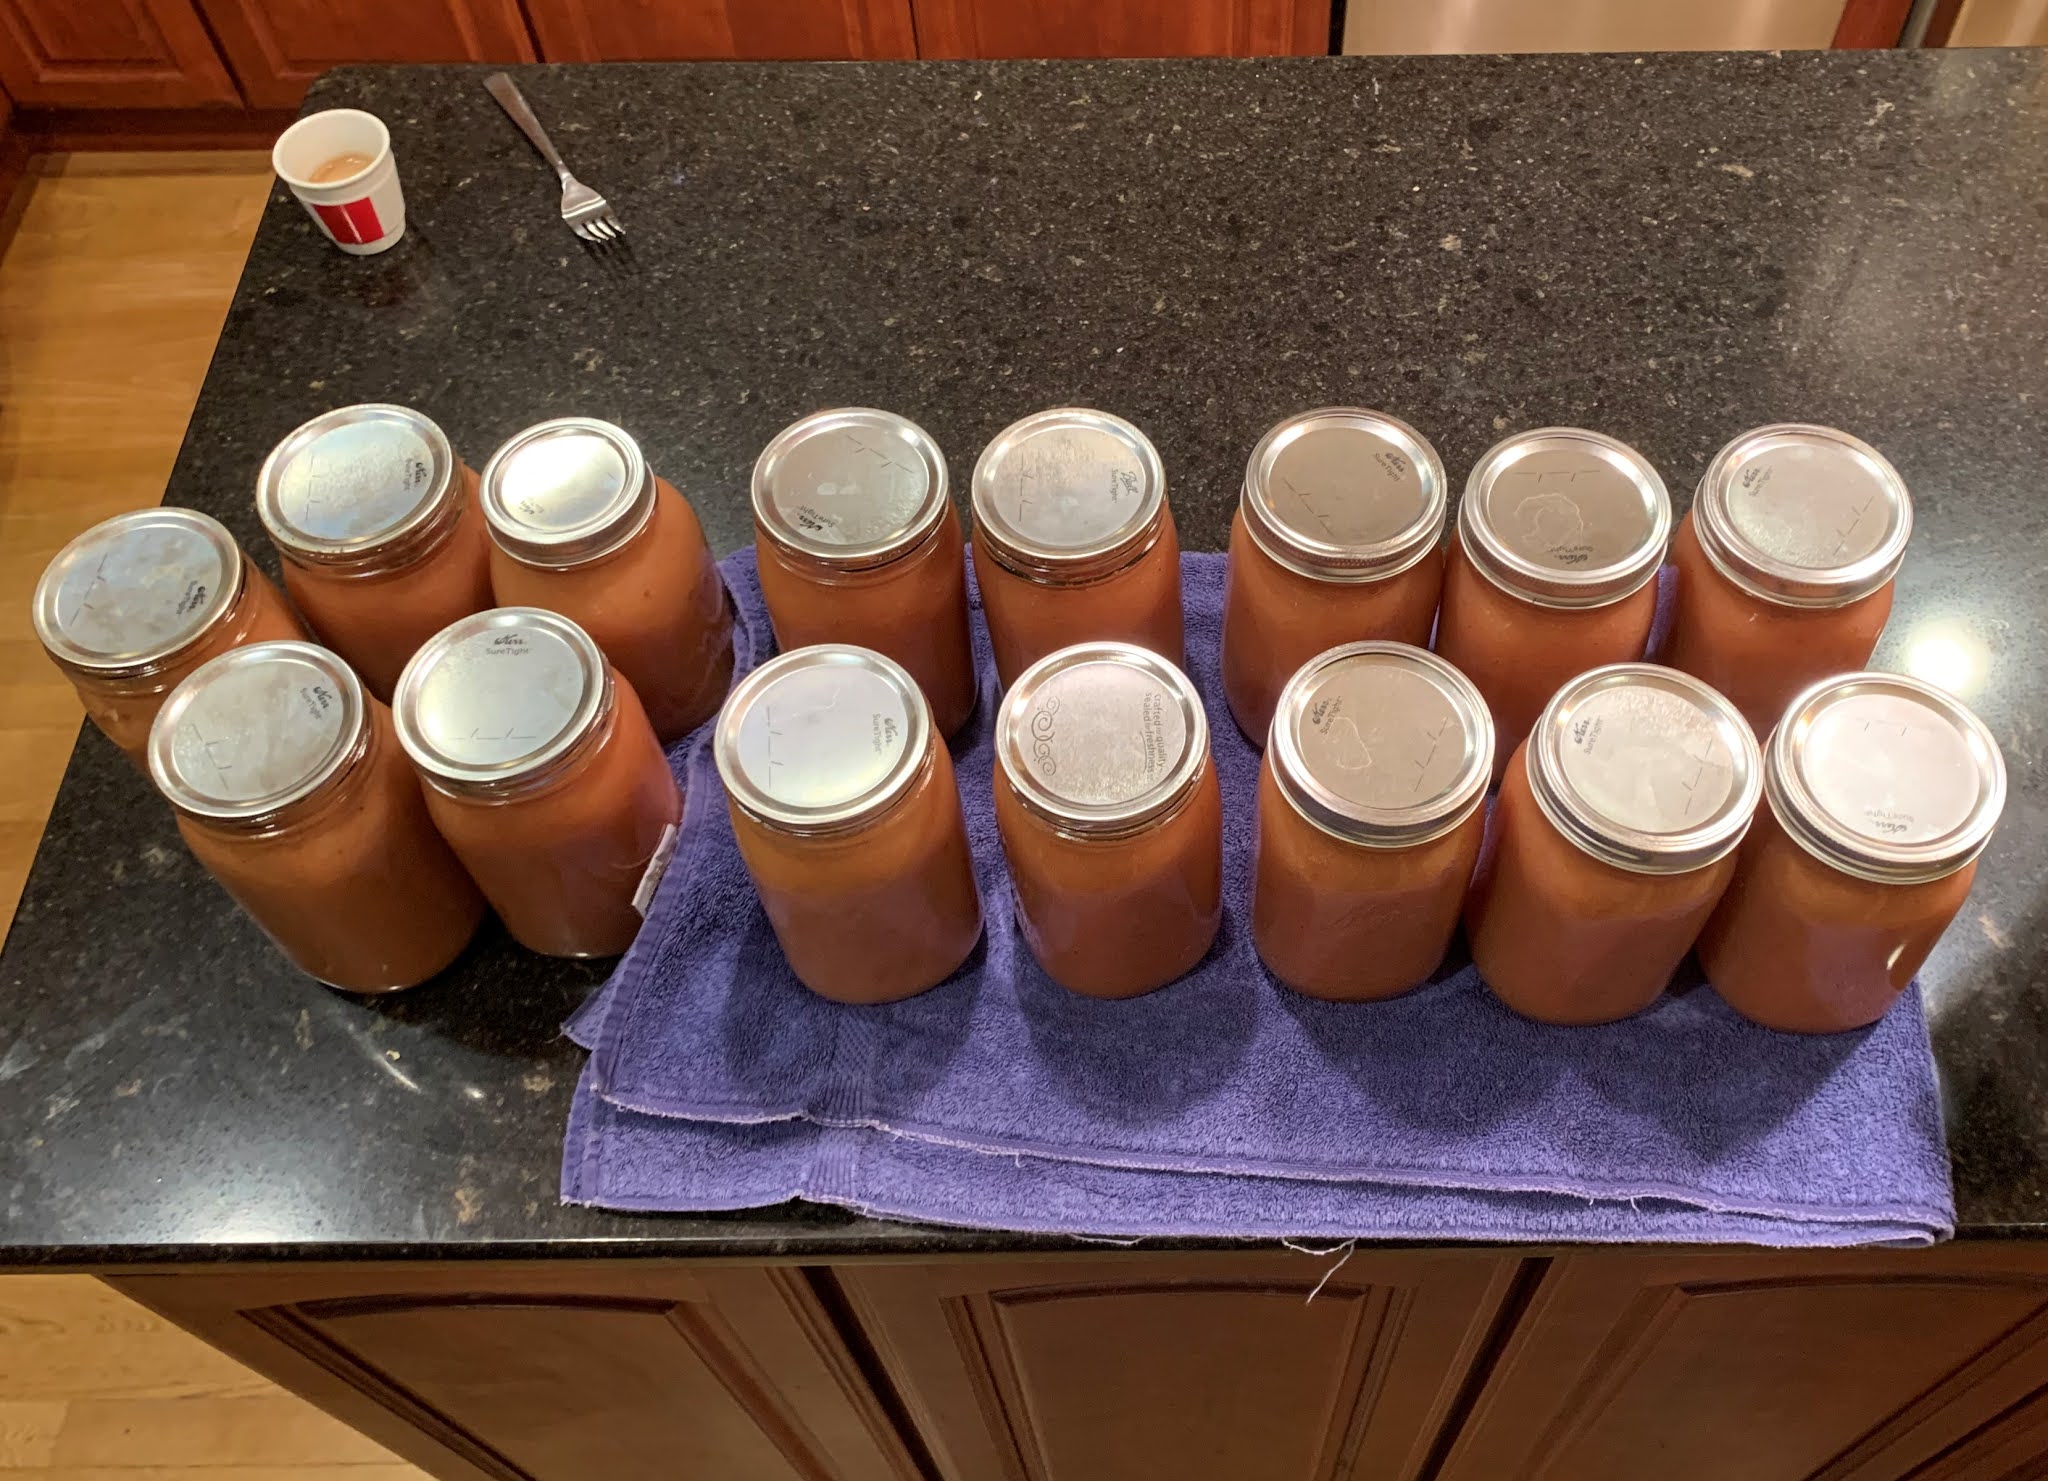
  • Remove the jars from the canner and place on a folded towel on a heat-proof surface. You'll gradually hear the lids pop as they cool slightly. Let them cool at least several hours before you move them. Remove rings and double check the seals by trying to lift the lid off the jar. If there are any with failure-to-seal, they can be refrigerated or frozen
  • Clean the kitchen well and mop. Everything will be sticky, and you will have splatter all over the stove, backsplash and counters
  • Wash the rings well, dry them in the oven to ensure they're fully dry, then rub with some vegetable oil before storing them so they don't rust
One bushel box (missing some apples we'd already eaten)

Quartering and coring
Lots of bowls

Apple quarters simmering until very soft

The cutting continues...

KitchenAid grinder and fruit strainer attachments

Simmering the pureed sauce and adding cinnamon

Ladling hot sauce into jars

Processing jars in canner

Enjoy some warm

15 quarts in 2020

Entering into the State Fair

Andy has entered pints of apple sauce to the MN State Fair twice with no prize. We think the judges are looking for more of the traditional (sweet and bland with a fairly loose texture) apple sauce. 
State Fair scorecards

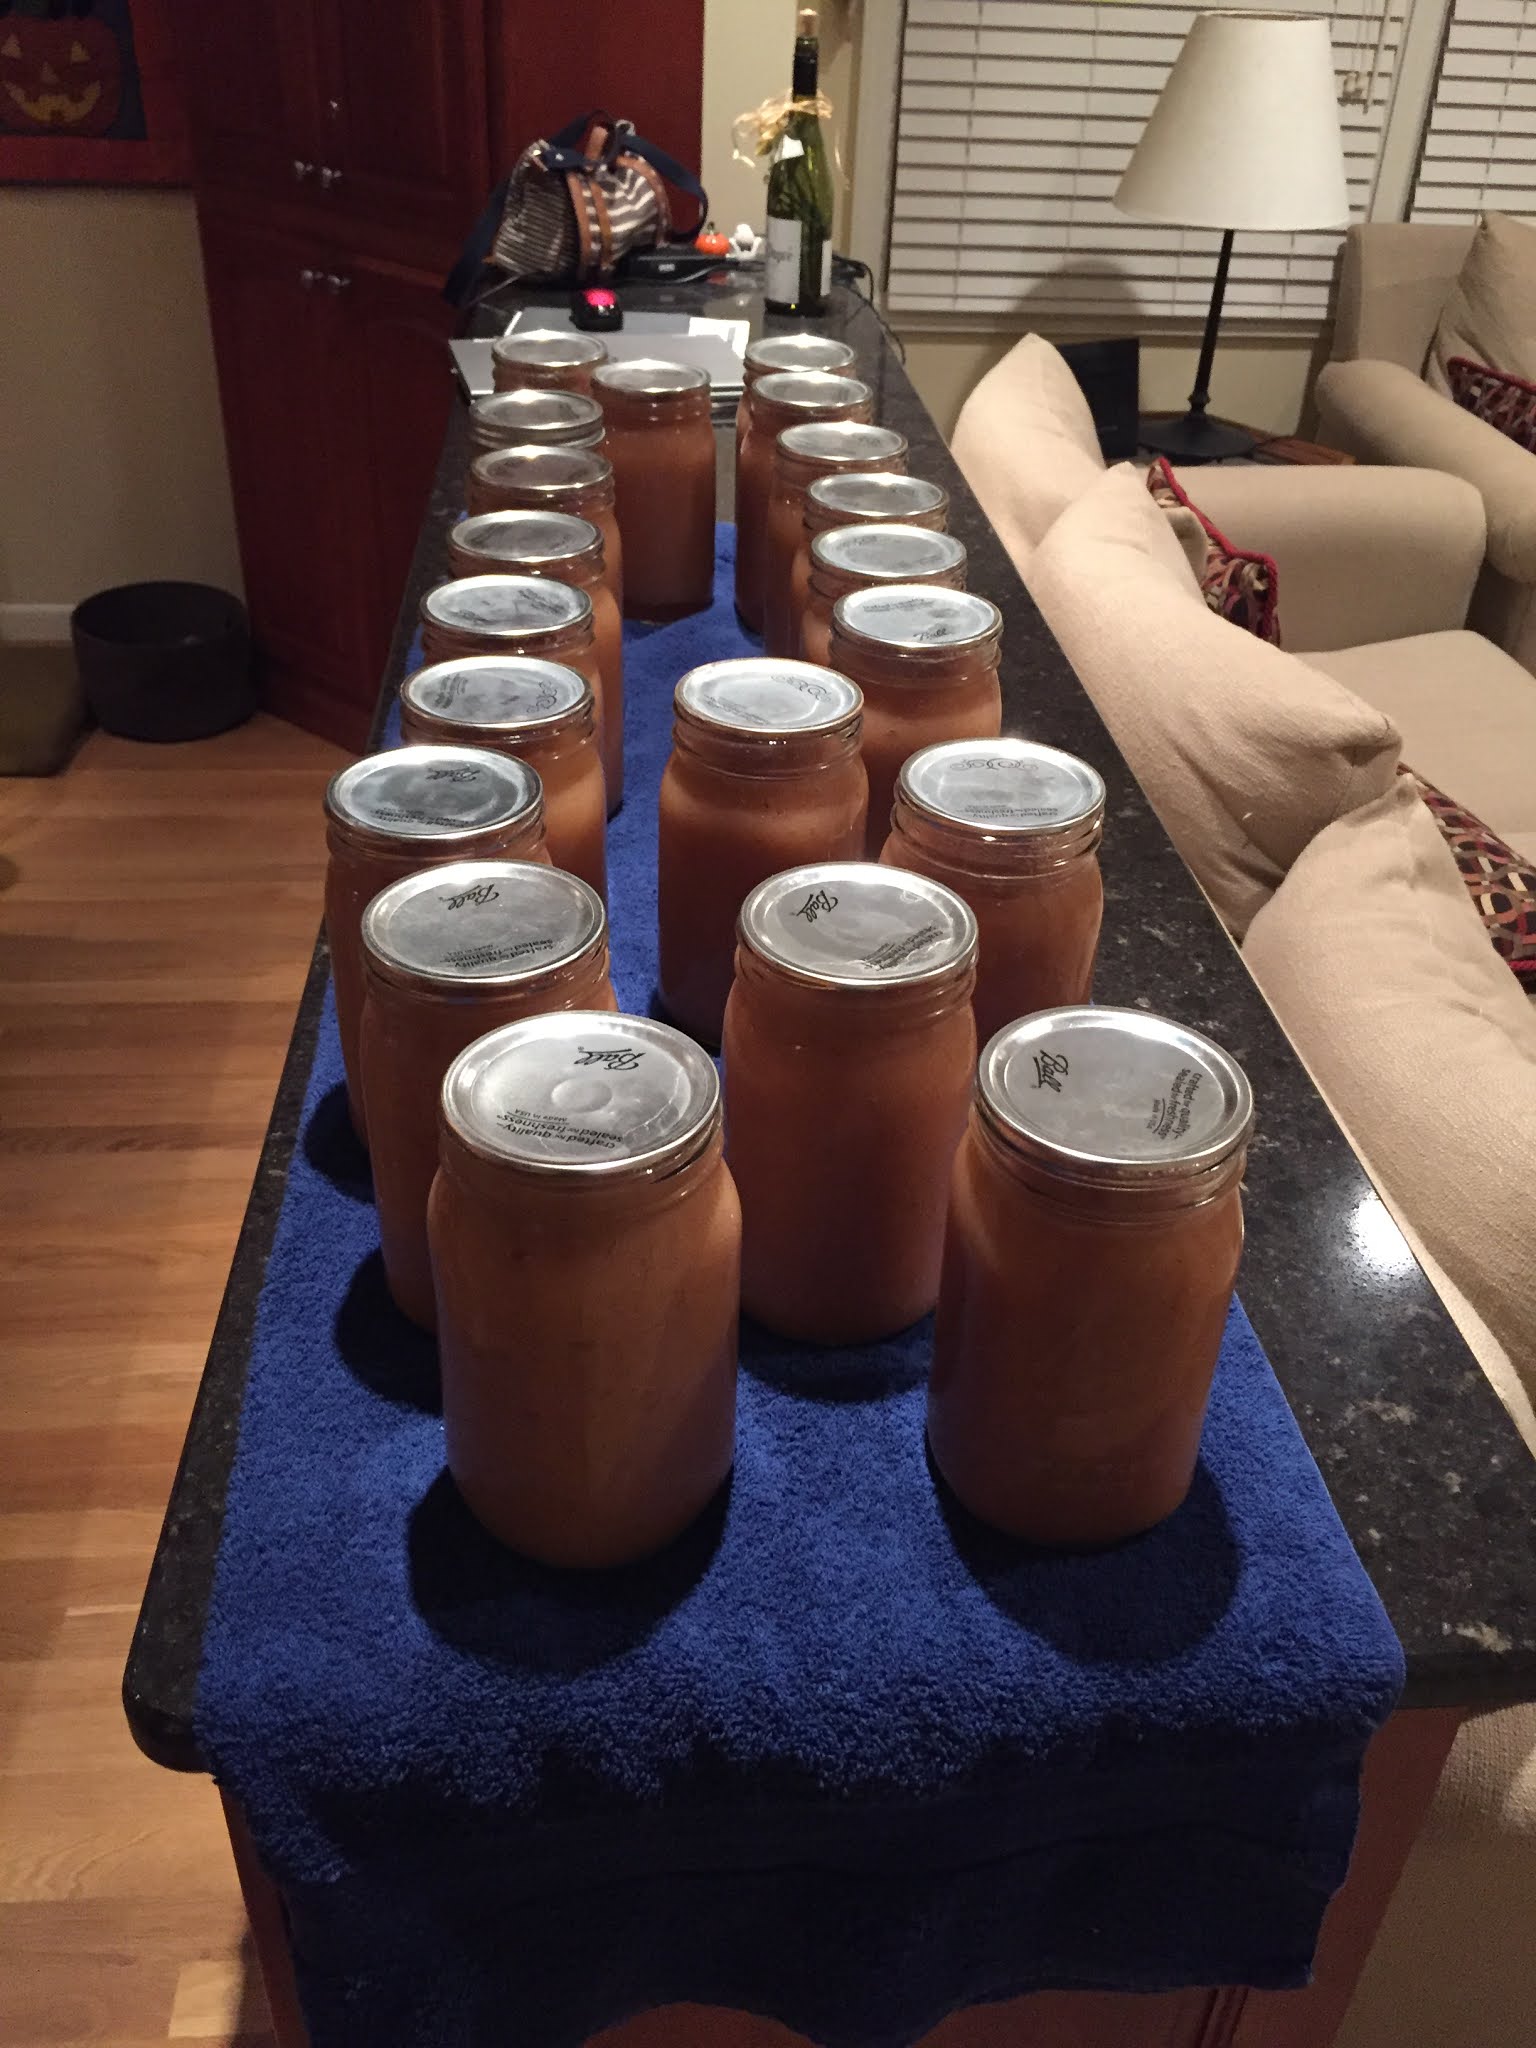
Past Canning Sessions

A walk down memory lane. We didn't take pictures early on, but we have a few over the years.
For years we used this cone food mill passed down in Andy's family

2006

2007- looking and feeling very tired

2008
2010

2012- note the remodeled kitchen, done in 2011

2013- the booze helped

2014

2015

2017

Dad's High Protein, No Sugar Granola

 Andy developed this granola recipe with experimentation, and now usually makes a batch a week in the winter. This works very well in a diabetic diet.

Recipe:

1 c oatmeal (reg, not quick)

1 c chopped walnuts

1 c chopped pecan

1 c ground flax meal (Bob's Red Mill)

1/2 c wheat germ

3 Tbsp chia seed

1 c unsweetened coconut flakes

1/2 c olive oil

1/2 c sugar-free maple-flavor pancake syrup

1/2 tsp salt

1 tsp cinnamon

Mix, spread on cookie sheet 40-50 min at 300 f, stirring every 15 min.


Sunday, September 20, 2020

Apple "Hand Pie" Galettes

 I baked something like this several years ago (copied from something we'd seen in a restaurant display). Andy loved and continues to talk about them, but I don't really know how I made them. So, this time I'm going to write it down. 

I wanted a 1.5 recipe of pie pastry to make 4 generous galettes. You'll know from other posts that making pie pastry is not my true love, but occasionally I relent. I calculated 1.5Xs volume from my trusty Better Homes and Gardens cookbook:

1 3/4 c , plus 2 Tbsp flour

3/8 tsp salt

1/3 c plus 3 Tbsp shortening (you can use part butter, I opted to keep this simple)

6-7.5 Tbsp cold water

Follow the pastry drill. It was really dry, so I kept adding water, and then it was a bit too wet. Stupid pastry- this is one reason I don't like making it. I chilled it overnight.

Next day, I divided into four, and rolled each portion out. 

I topped with apple filling, then folded and pleated the crust over the top. The pleats didn't want to stick much. I baked at 375 for 45 min.

Filling (adapted from BHG cookbook)

4-5 C peeled sliced apples (I had a bit more as a result of going wild with the peeler)

1/2 c brown sugar (or less- depends on amount of apples)

2 Tbsp white sugar

2 Tbsp flour

1/2 tsp cinnamon

1/8 tsp nutmeg

Thursday, September 17, 2020

Summer Sangrias

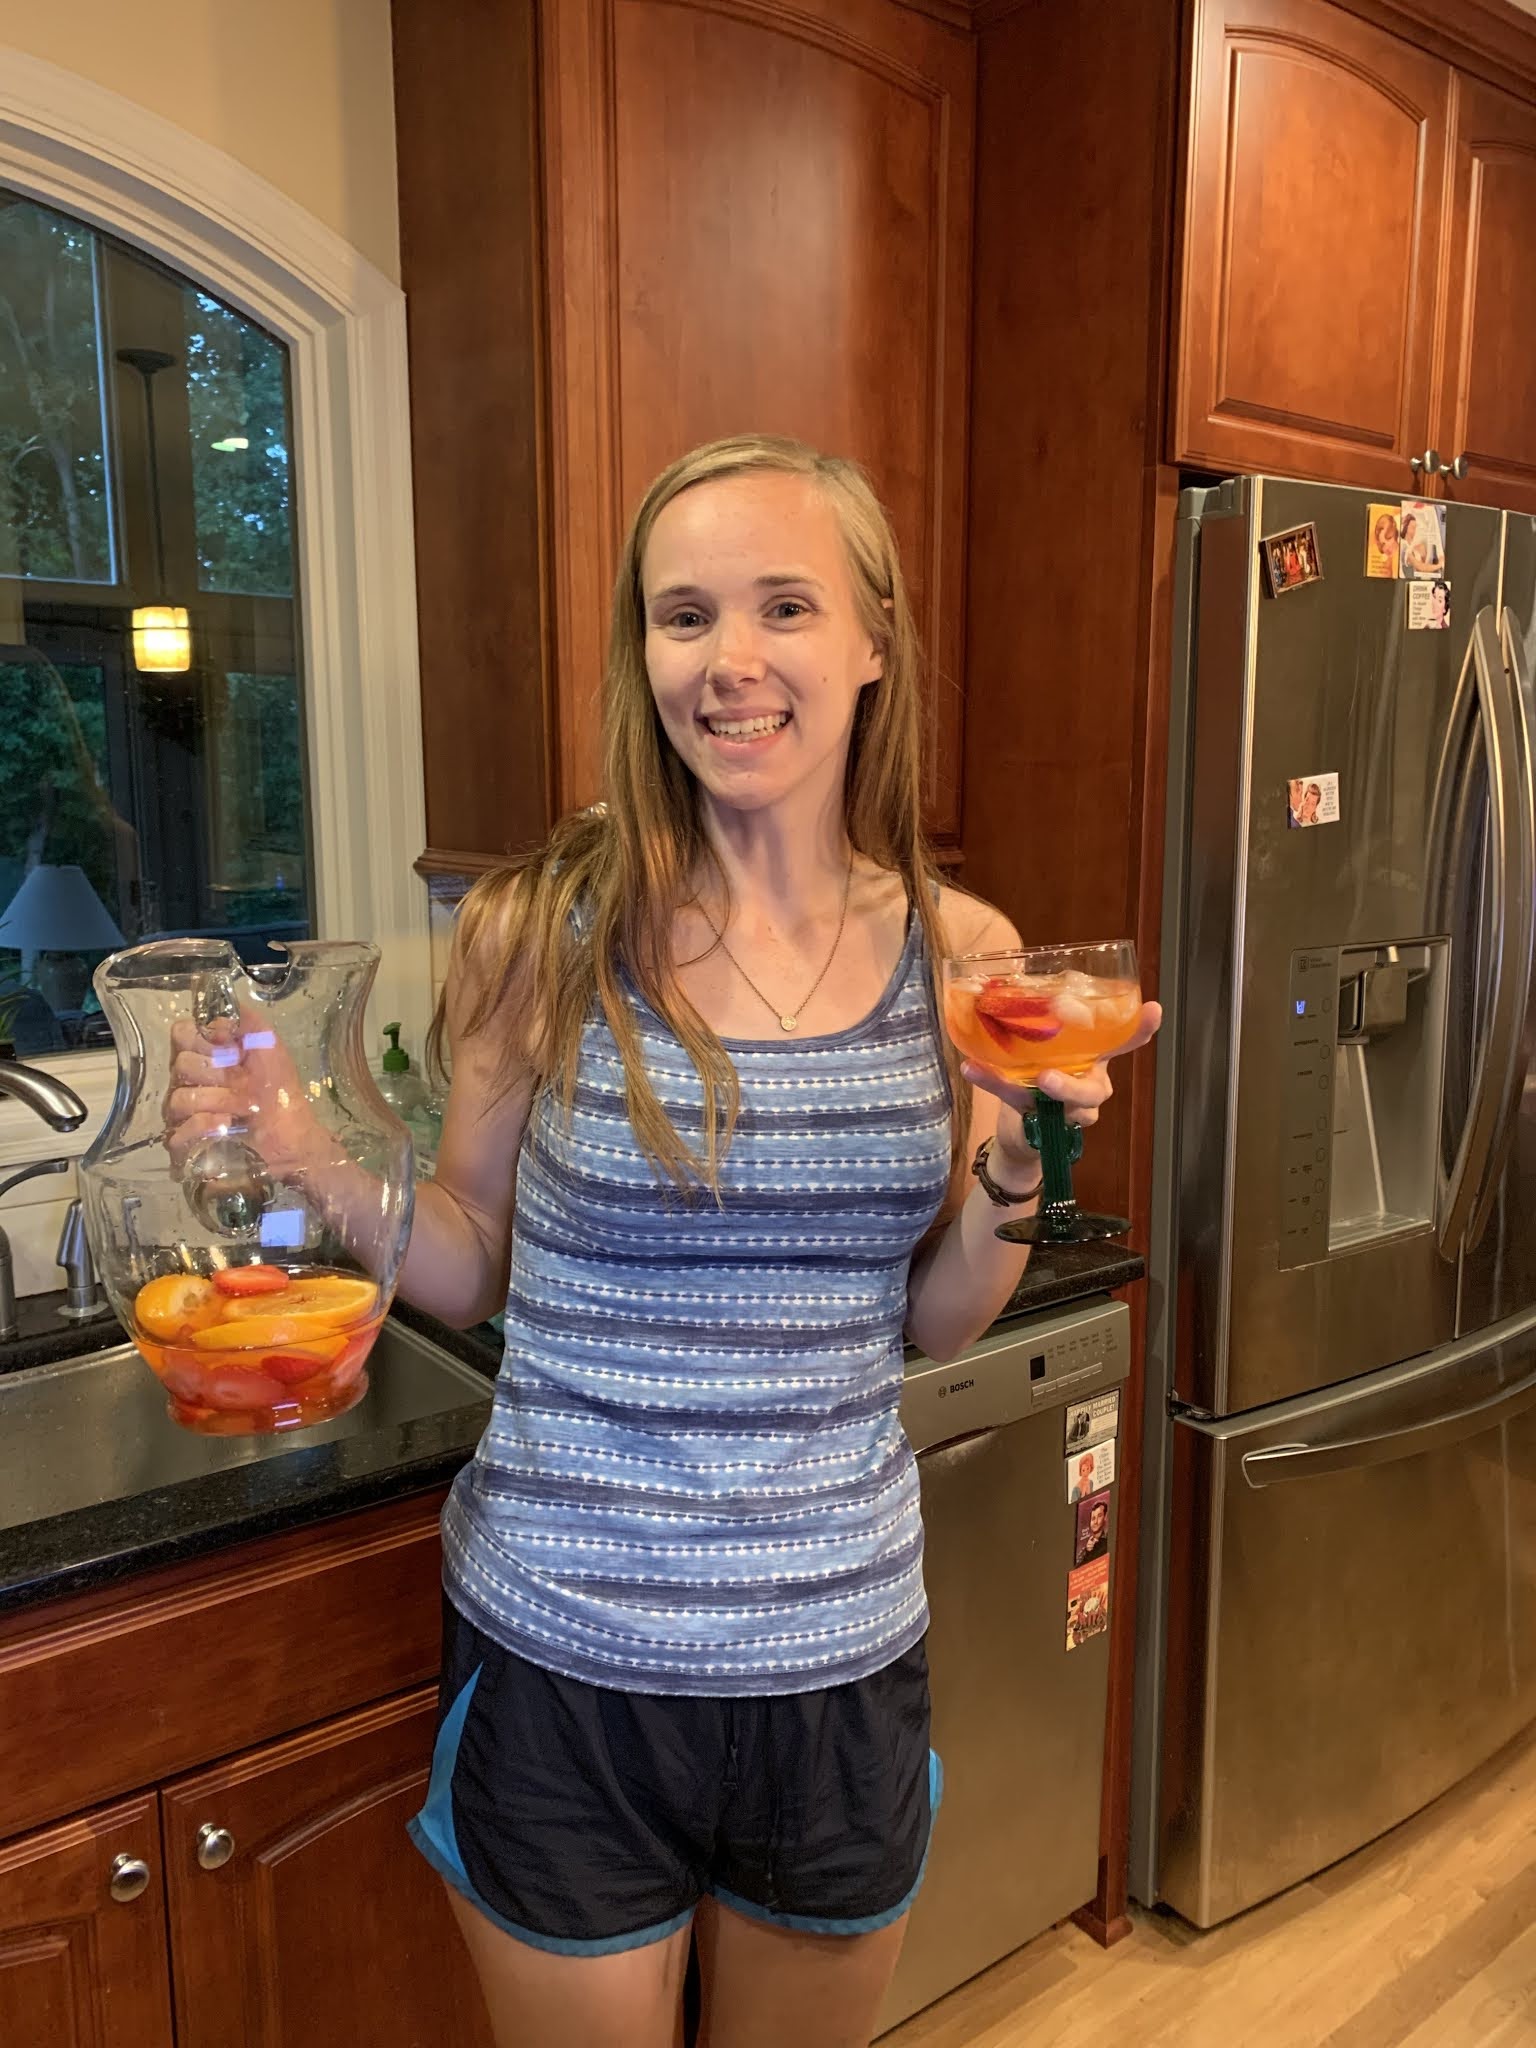
 I'm a fan of sangria, especially lighter versions made with white wine in the summer. Here are my favorite ones so far.

White Strawberry Sangria

1 750 ml bottle dry white wine, chilled (I like Sauvignon Blanc)

1/2 c strawberry schnapps

1/4 c sugar (or a little less)

2 c sliced strawberries

In a pitcher, mix the first three ingredients until the sugar dissolves, then add the strawberries and a lot of ice. You can add other fruit, as well, I love nectarines in summer sangria.


Campari Sangria Spritz

1 750 ml bottle dry white wine, chilled (again, Sauvignon Blanc)

1 c Campari or Aperol

2 c sliced strawberries

4 orange slices, halved

2 c seltzer water

In a large pitcher, combine the wine, Campari and fruit and let infuse for 30 minutes, then add the seltzer. Serve over ice.


Rosé Sangria

2 (750-ml) bottles rosé wine
1/2 cup Spanish brandy
1/4 cup triple sec or orange liqueur, like Grand Marnier
Juice of 1 orange
1/2 cup superfine sugar
1/2 cup sliced fresh strawberries
1/2 orange, sliced into thin rounds, cut in half
1/2 lemon, sliced into thin rounds, cut in half
1/2 plum, pit removed, sliced into thin wedges
1/2 peach, pit removed, sliced into thin wedges
1 (10-oz) bottle club soda, chilled

Combine wine, brandy, orange liqueur, orange juice, and sugar in a large pitcher. Stir until sugar dissolves. Add fruit and stir. Cover and refrigerate until well chilled, about 2 hours (that's what the recipe says- really I just mix it and start pouring). Stir in club soda. Serve over ice if desired. 

Sunday, September 13, 2020

Replacing Canned Pumpkin & Pumpkin Pancakes

I'm in the mood to make a favorite pumpkin pancake recipe, but the pandemic-related food shortages continue. I went to three grocery stores yesterday, and all of them are out of canned pumpkin. Instead, I bought 2 butternut squashes for $2 apiece, baked and pureed them. I have cooked squash in the Instant Pot before, and thought about that approach, but it yields a much wetter finished product and I wanted to end up with denser cooked squash that more closely resembled the canned texture.

Cut squash in half and seed them

Bake face down in oven until tender
I baked them at 350 until tender. I started checking at 30 min, they were done at about 50 min. I let them cool and then scooped the cooked squash into the food processor and pureed until smooth.

I used a food scale to weigh out 15 oz portions (as if canned) and got three portions. I'll freeze these.

Here is one of our favorite pumpkin pancake recipe:

Byerly's Autumn Brunch Pancakes

Good served with apple sauce
Note: if doubling, I've found use 5 eggs rather than 6

1 c unseasoned pumpkin (if doubling, 1 can works)
3 large eggs
1/2 c flour
1/3 c milk
3 Tbsp brown sugar
1/2 tsp baking soda
1/2 tsp cinnamon
1/4 tsp nutmeg
Butter for frying (about 2 Tbsp)

Combine all ingredients except butter for frying. Cook over medium heat about 2 min per side, or until tops bubble and bottoms are brown.

If you want to peel squash to cube and roast it, there's a suggestion to slice off the top and bottom, prick with a fork, then microwave the whole squash for 3 min to soften the peel. I've tried this and the jury is still out- it's just hard to peel squash.